



Passwordless Windows Logon setup
The following steps must be performed in sequence by the customer-side administrator to configure and use the Passwordless Windows Logon feature:
Simple Certificate Enrollment Protocol (SCEP) service setup
SCEP is used to automate the task of PKI certificate issuance.
Setting up the required AD CS components and certificate template involves the following tasks:
Configuring Active Directory Certificate Services (AD CS)
Proceed with the default or existing configuration of AD CS with a valid Root CA, and then perform the steps mentioned in the following sections to configure the SCEP service.
Configuring SCEP service
Before the SCEP service configuration, you must create a user (for example, ndes-user) in the AD that is a member of the Local IIS_IUSRS group.
Note
The following steps can be performed by executing the automation utility ADCS_SetupForPwdlessDesktopLogon.zip.
As a prerequisite, ensure that the SCEP endpoints are accessible from the Windows machine where WLA is installed. Configuring SCEP Service involves the following steps:
Adding Network Device Enrollment Service (NDES) role
Note
It is recommended to install and configure the NDES role on a different server machine other than the AD CS-installed machine.
To add the NDES role on the server machine, perform the following steps:
-
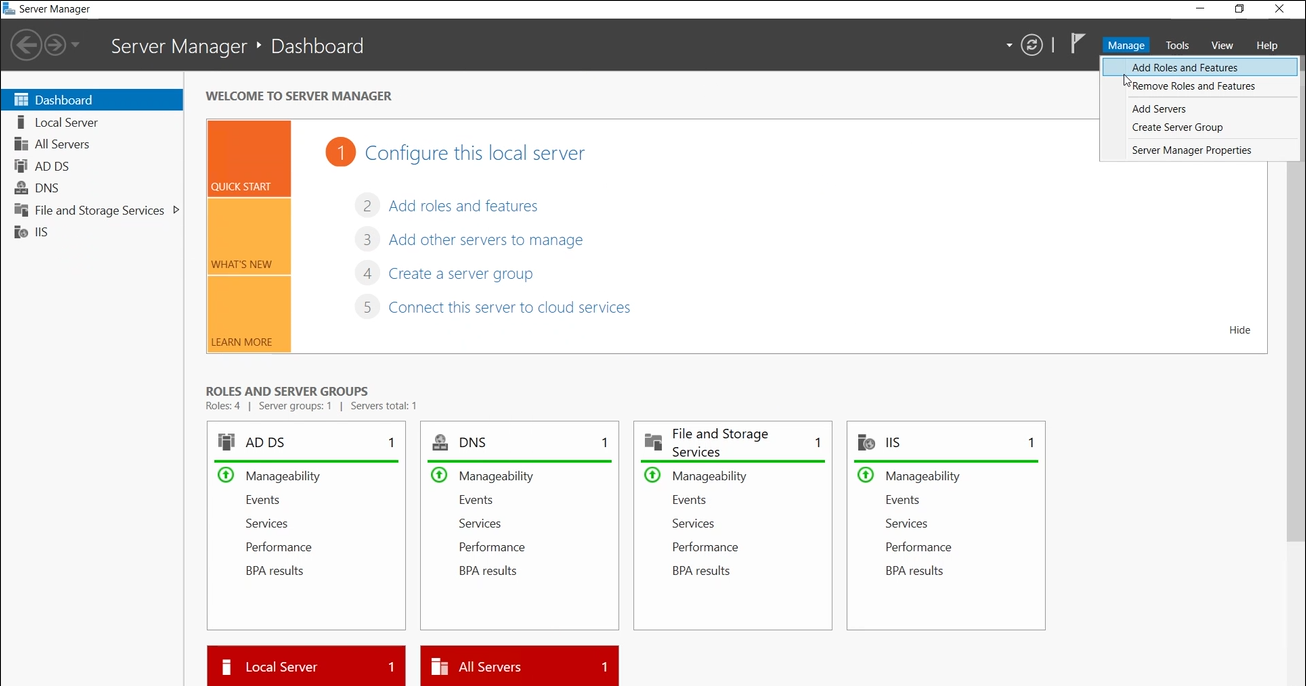
Navigate to the Server Manager. At the top pane, on the right-hand side, click Manage > Add Roles and Features.
-
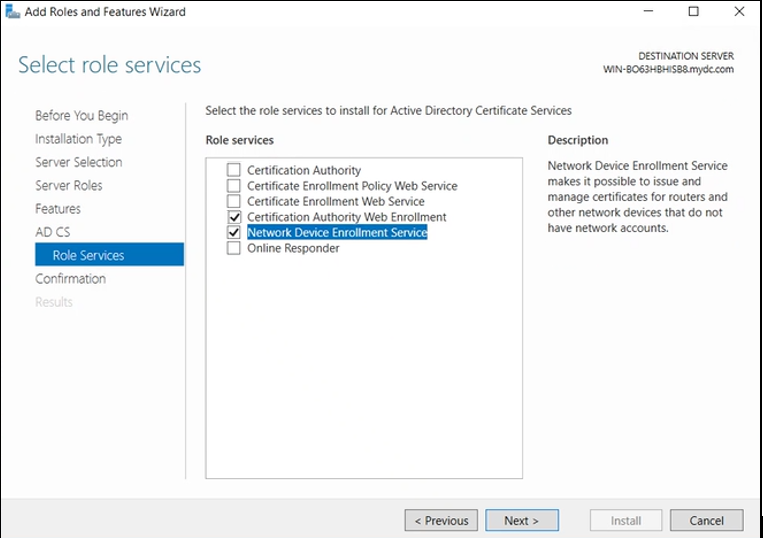
On the Add Roles and Features Wizard, in the left pane, click Role Services, and then select Certification Authority Web Enrollment and Network Device Enrollment Service roles for Active Directory Certificate Services (AD CS).
-
Click Next.
-
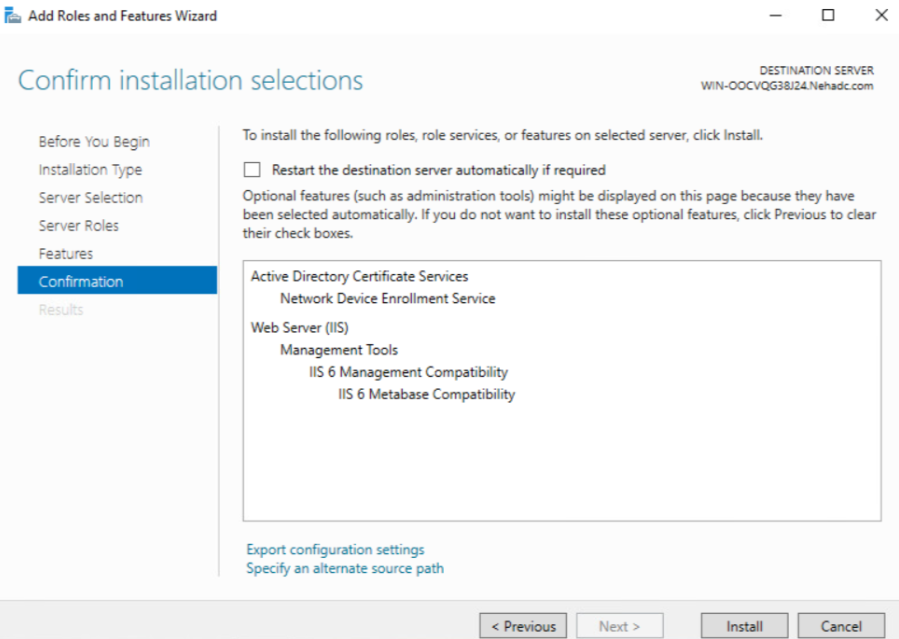
Under Confirmation, click Install.
-
Click Restart.
-
Under Results, after verifying the successful installation, click Close.
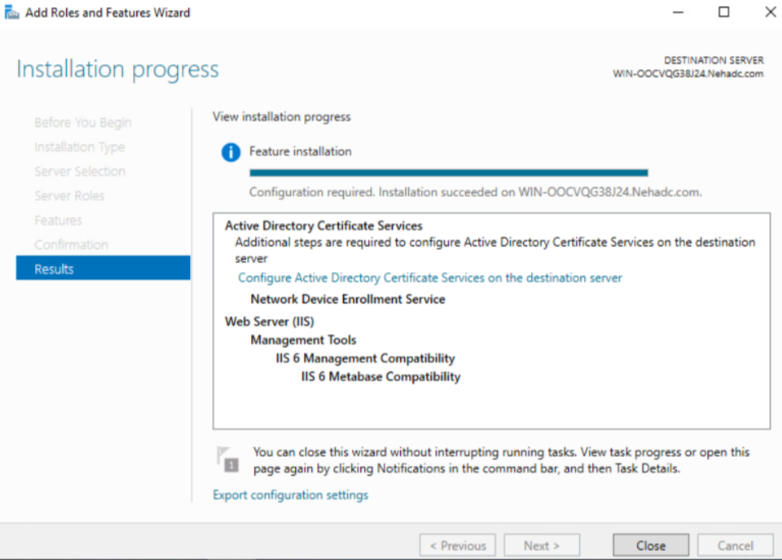
Now, the newly created NDES role needs to be configured in AD CS.
Configuring Network Device Enrollment Service (NDES) role
Perform the following steps to configure the NDES role that you created in the above section:
-
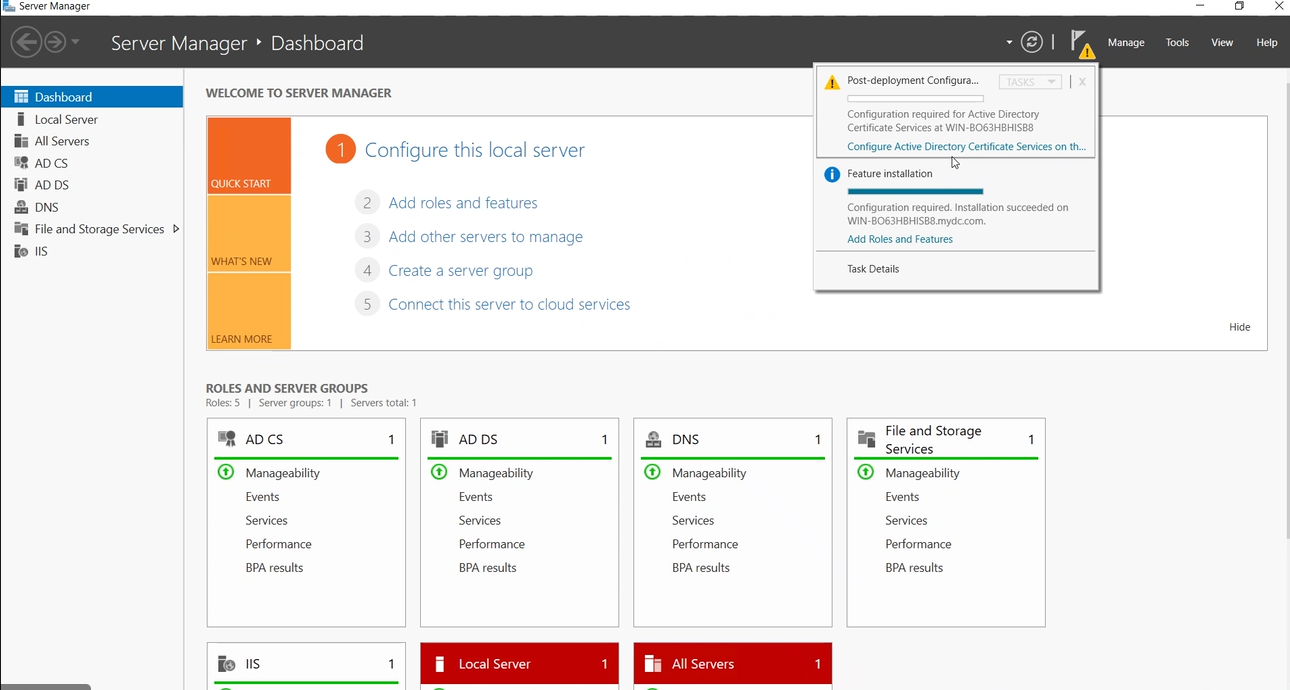
Navigate to the Server Manager. At the top pane, on the right-hand side, click the Warning icon, and then click Configure Active Directory Certificate Services on the destination server link.
-
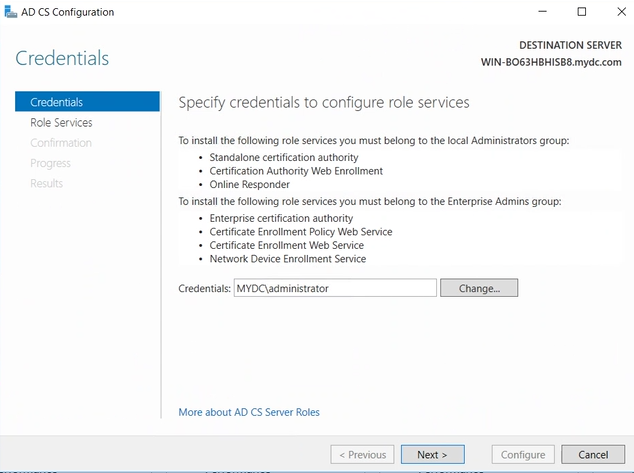
On the AD CS Configuration window, under Credentials, click Next.
-
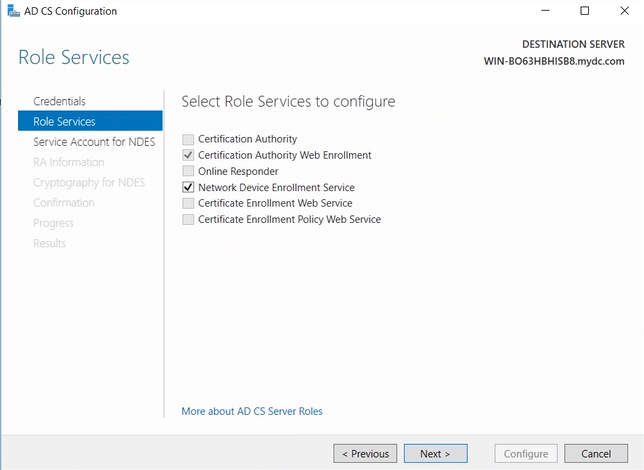
Under Role Services, select Network Device Enrollment Service, and then click Next.
-
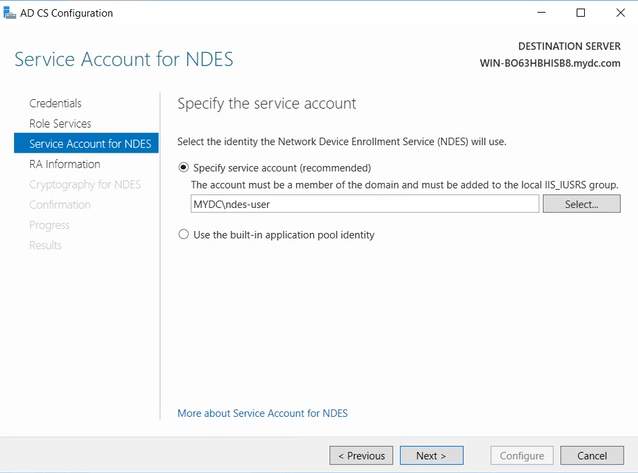
Under Service Account for NDES, in the Specify service account (recommended) field, click Select to select the user (for example, ndes-user) that is created earlier.
-
Click Next.
-
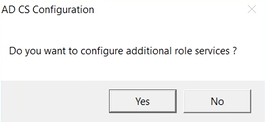
On the confirmation pop-up window, to add another role service, click No.
-
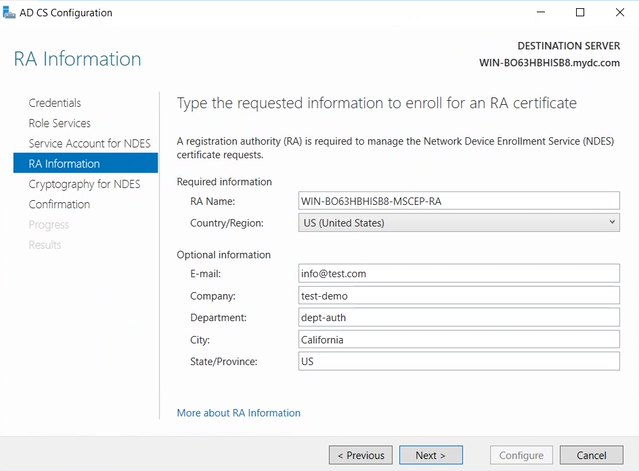
Under RA Information, enter the required details, and then click Next.
-
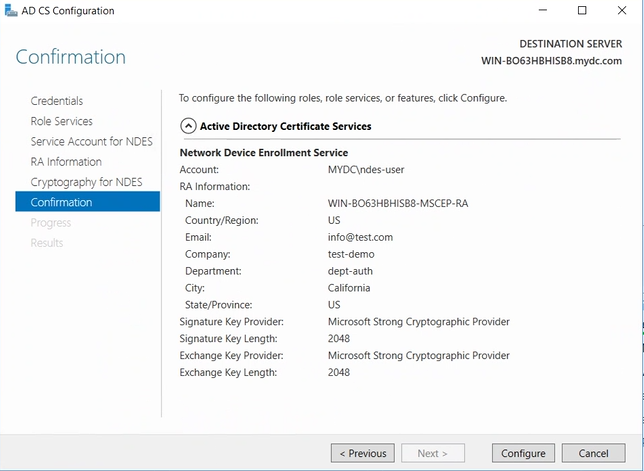
Under Confirmation, click Configure.
-
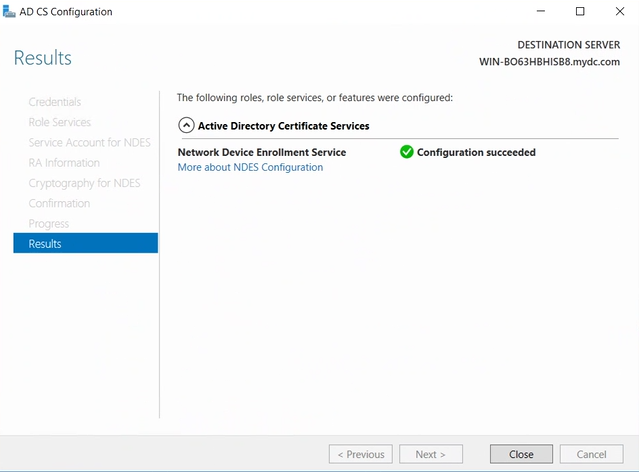
Under Results, click Close.
-
Restart the IIS server.
Configuring certificate template in SCEP
The SCEP service uses the registry to store configuration settings on the machine where the SCEP service is configured. All settings are stored under the registry key at:
HKEY_LOCAL_MACHINE\Software\Microsoft\Cryptography\MSCEP
| Setting | Description | Accepted values |
|---|---|---|
EnforcePassword\EnforcePassword |
Used to enable or disable the use of a password for MSCEP. Set it to 0 to enable the passwordless configuration. |
1 (Default): MSCEP requires a password for enrollment requests 0: Passwords are not enforced |
GeneralPurposeTemplate |
If this key is set, the service will use the value of the certificate template name when the device sends an enrollment request with an empty or 0xa0 value for the KeyUsage extension. If it is not set, the service will use the IPSECIntermediateOffline template. |
IPSECIntermediateOffline (Default) <Created template name>: Use the template name as created earlier. For example, SmartCardLogonTemplateTest. |
Creating certificate template
On the domain server, a template needs to be created for the certificate that will be used later. Perform the following steps to create the SCEP Certificate Template to fulfill the devices' SCEP requests.
-
Navigate to the Server Manager.
-
Click Tools and then click Certification Authority.
-
Double-click the CA name, right-click Certificate Templates, and then click Manage.
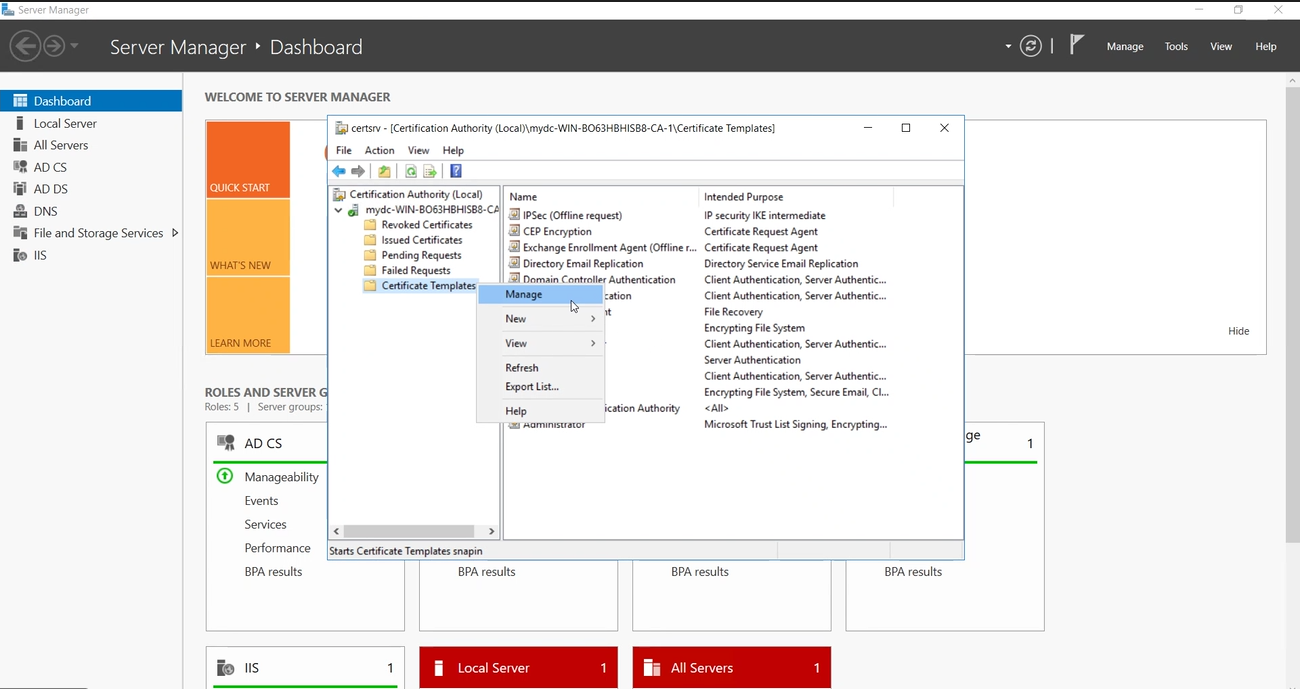
-
On the Certificate Templates Console, right-click Smartcard Logon, and then click Duplicate Template.
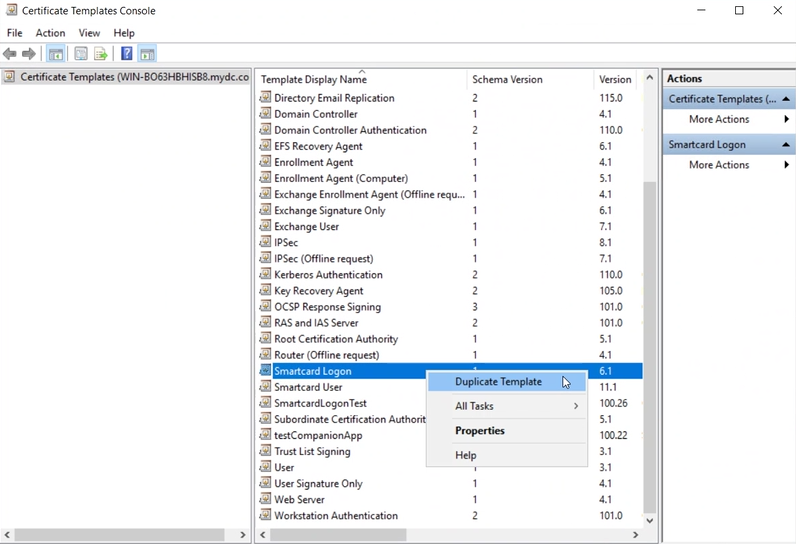
-
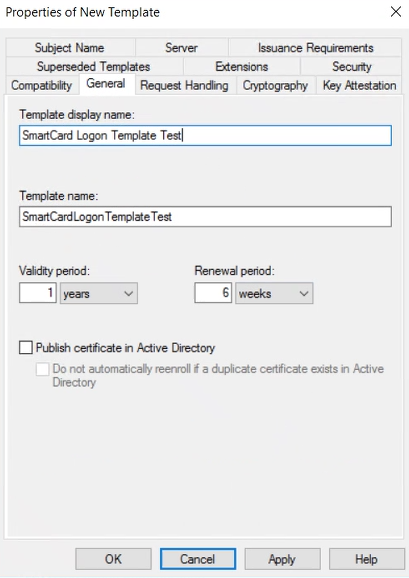
On the General tab:
-
In the Template display name field, specify a name, for example, SmartCardLogonTemplateTest.
Note
Ensure that the template name does not contain any whitespace.
-
Set the Validity period to the desired value. Recommended: 1 year
-
-
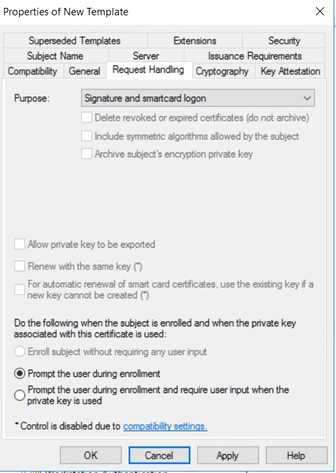
On the Request Handling tab:
-
Set the Purpose to Signature and smartcard logon.
-
Select Prompt the user during enrollment.
-
SafeNet SCEP Adaptor installation
SafeNet SCEP Adaptor protects the SCEP service from unauthorized requests. This section explains the steps involved in installing, configuring, upgrading, and uninstalling the SafeNet SCEP Adaptor on the machine where the SCEP service is configured.
Note
Ensure that both the installation and configuration files are in the same folder, to automatically detect the configuration.
Installing SafeNet SCEP Adaptor
Perform the following steps to install the SafeNet SCEP Adaptor on the server machine where the SCEP service is configured:
-
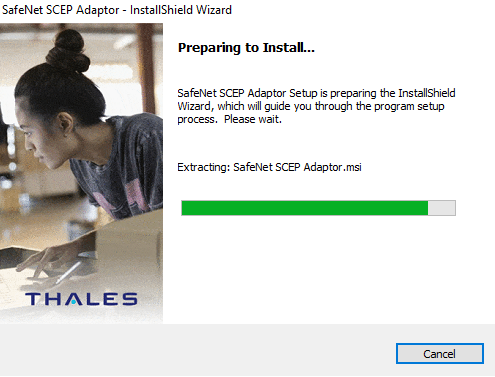
Navigate to the application folder and double-click the SafeNet SCEP Adaptor application to launch the installer.
-
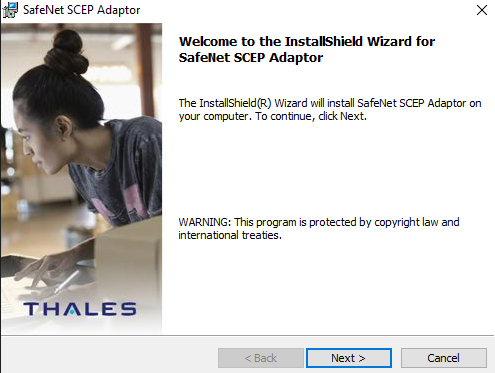
On the Welcome to the InstallShield Wizard for SafeNet SCEP Adaptor window, click Next.
-
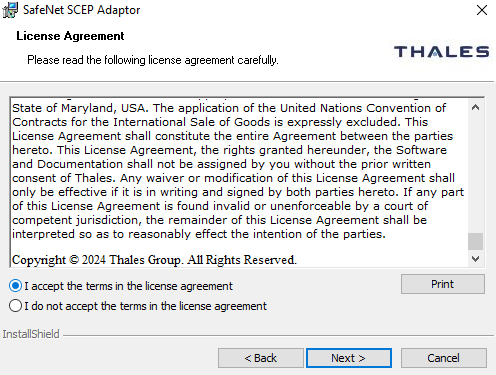
On the License Agreement window, read the software license agreement and to proceed, select I accept the terms in the license agreement option, and then click Next.
-
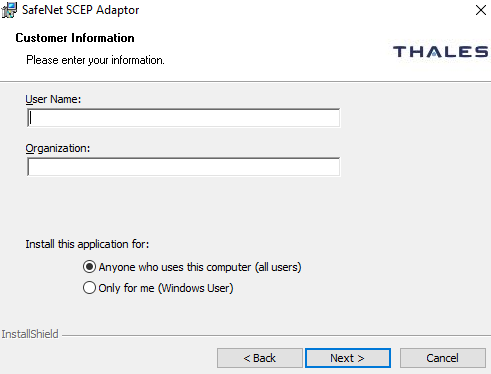
On the Customer Information window, perform the following steps:
-
In the User Name field, enter the user name.
-
In the Organization field, enter the name of organization (any custom name can be used).
-
Click Next.
-
-
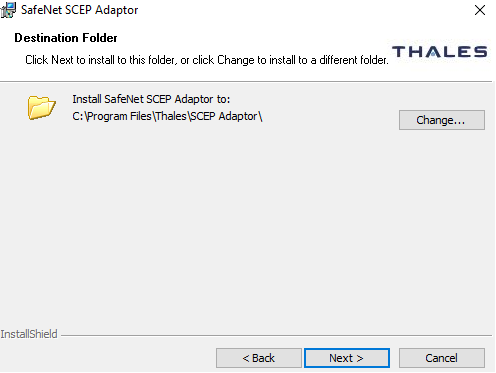
On the Destination Folder window, perform one of the following steps:
-
To accept the default installation destination folder, click Next.
-
To change the installation folder, other than the default one, click Change, and then browse to locate and select the required folder.
-
Click Next.
-
-
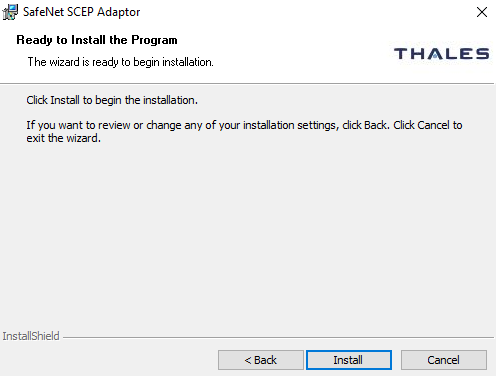
On the Ready to Install the Program window, click Install.
-
Click Next.
-
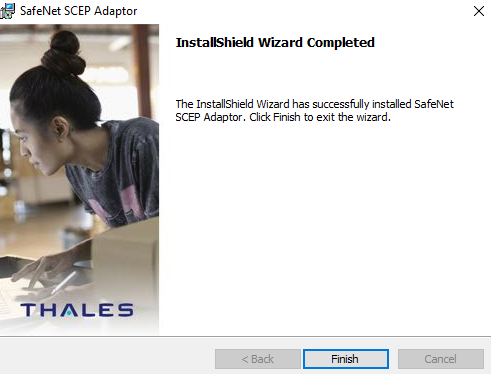
When the installation process completes, the InstallShield Wizard Completed window is displayed. Click Finish.
Configuring SafeNet SCEP Adaptor
After the successful installation, the SafeNet SCEP Adaptor is configured automatically to protect MSCEP endpoints.
Customizing log level and log path
Perform the following steps to customize the logging level and log file location:
Logging level
-
Navigate to <SafeNet SCEP Adaptor installation folder> > bin > Default_Web_Site.
-
Open the AuthISAPI_Generic.ini file to update it.
-
Modify the value of the LogLevel field as required. For example, 5.
Following are the log levels:
1 — Critical: Very severe error events that might cause the application to terminate.
2 — Error: Error events that prevent normal program execution, but might still allow the application to continue running.
3 — Warning (Default): Potentially harmful error events.
4 — Info: Informational error events that highlight the progress of the application.
5 — Debug: Detailed tracing error events that are useful to debug an application. (Recommended)
-
Save the AuthISAPI_Generic.ini file and close it.
-
Restart the IIS server.
Log file location
-
Navigate to <SafeNet SCEP Adaptor installation folder> > bin > Default_Web_Site.
-
Open the AuthISAPI_Generic.ini file to update it.
-
Modify the LogFile field to change the logging path (the location where the log files are saved) as required.
-
Save the AuthISAPI_Generic.ini file and close it.
-
Restart the IIS server.
Upgrading SafeNet SCEP Adaptor
To upgrade, run the installation wizard and select appropriate options when prompted.
Perform the following steps to upgrade:
-
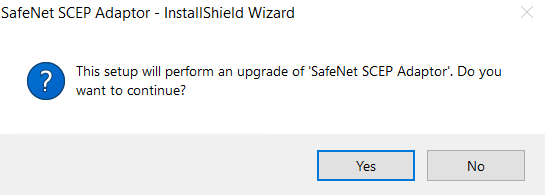
Double-click and execute the installer. If there exists an existing version of the agent, the installer detects it and auto-directs to the following screen. Click Yes.
-
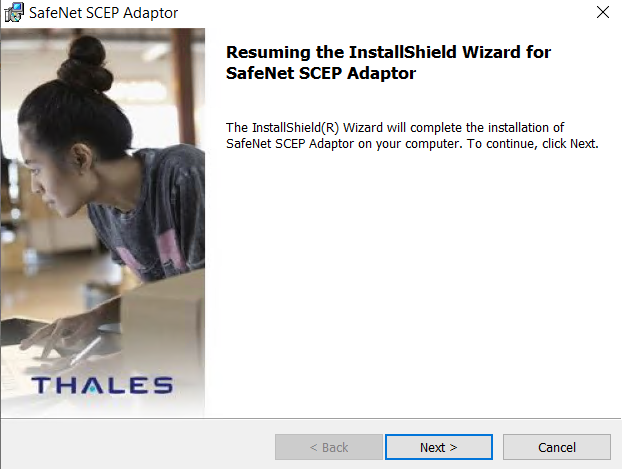
The following Resuming the InstallShield Wizard for SafeNet SCEP Adaptor window is displayed. Click Next, and follow the remaining prompts.
-
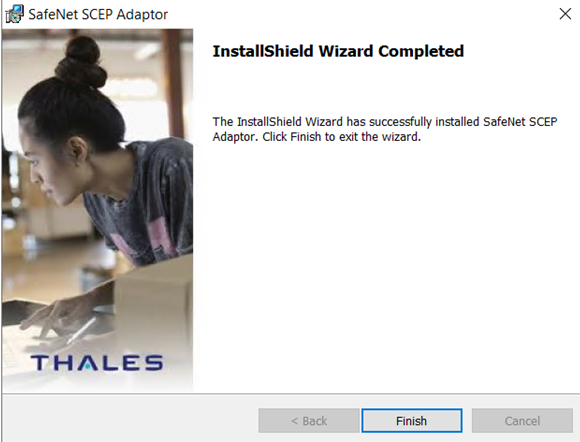
After the upgrade completes, the InstallShield Wizard Completed window is displayed. Click Finish.
Uninstalling SafeNet SCEP Adaptor
To uninstall the SafeNet SCEP Adaptor, perform the following steps:
-
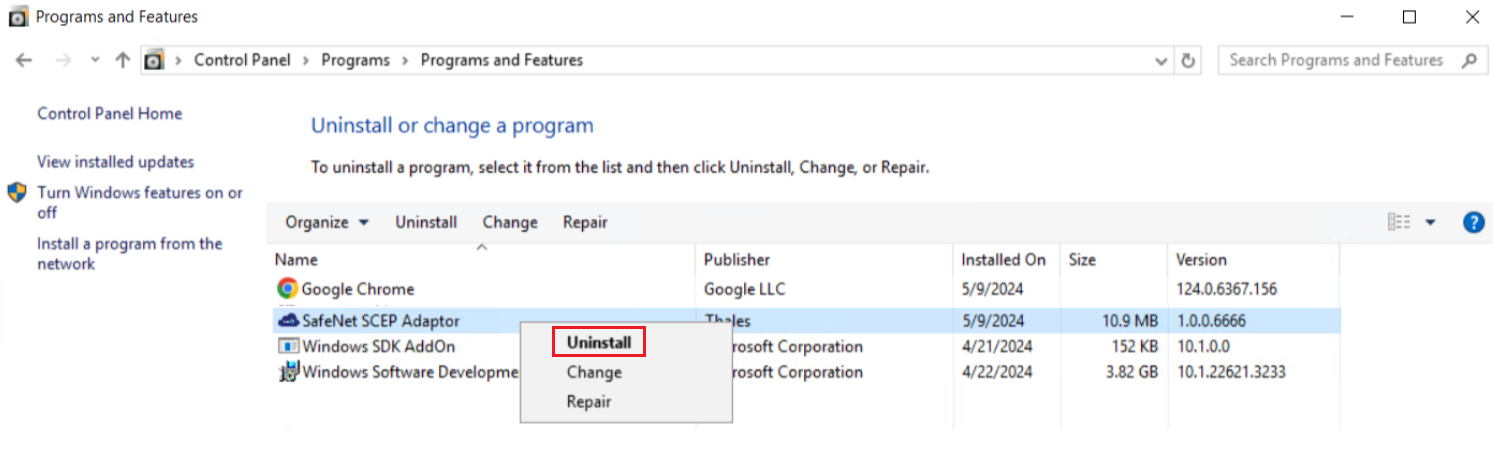
Navigate to Start > Control Panel > Programs > Programs and Features.
-
Right-click the SafeNet SCEP Adaptor program.
-
Click Uninstall.
After the uninstallation, the SafeNet SCEP Adaptor will be removed successfully.
Windows Logon Agent file configuration
Replace the Sample_Passwordless_UCA_FIDO.agent file (available in <Windows Logon Agent package>\Passwordless\Sample_Passwordless_UCA_FIDO.agent) with the updated version.
Passwordless Windows Logon agent installation
Perform the steps mentioned in the installation section to install the Passwordless Windows Logon agent.
After the successful installation, push the required registry settings to the client machines using any MDM (GPO, SCCM, or Intune). For more details about the PasswordlessEnabled and PasswordlessGroup registry settings, refer to the Registry Settings section.

