



Using Authenticator Manager
The Authenticator Manager portal enables you to manage your FIDO devices.
User Prerequisites
Before you access the Authenticator Manager portal, ensure that you meet the following prerequisites:
- You have a corporate account that is registered with the configured identity provider.
- You have a supported FIDO device (for example, SafeNet eToken FIDO NFC Enterprise).
- Thales Authenticator Lifecycle Service is installed and running on your system. For more information, see Thales Authenticator Lifecycle Service.
Accessing the Authenticator Manager Portal
-
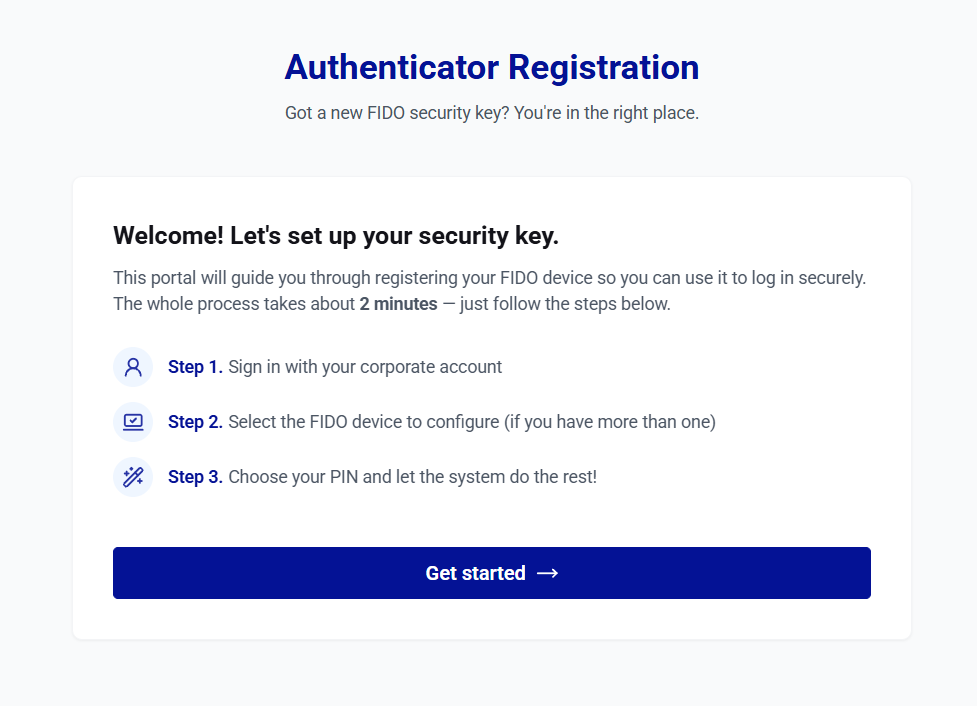
Open the Authenticator Manager portal URL in a web browser, and then click Sign in. The portal redirects you to your organization's sign-in page.
-
On the identity provider sign-in page, enter your corporate credentials and complete any configured multi-factor authentication (MFA) steps.
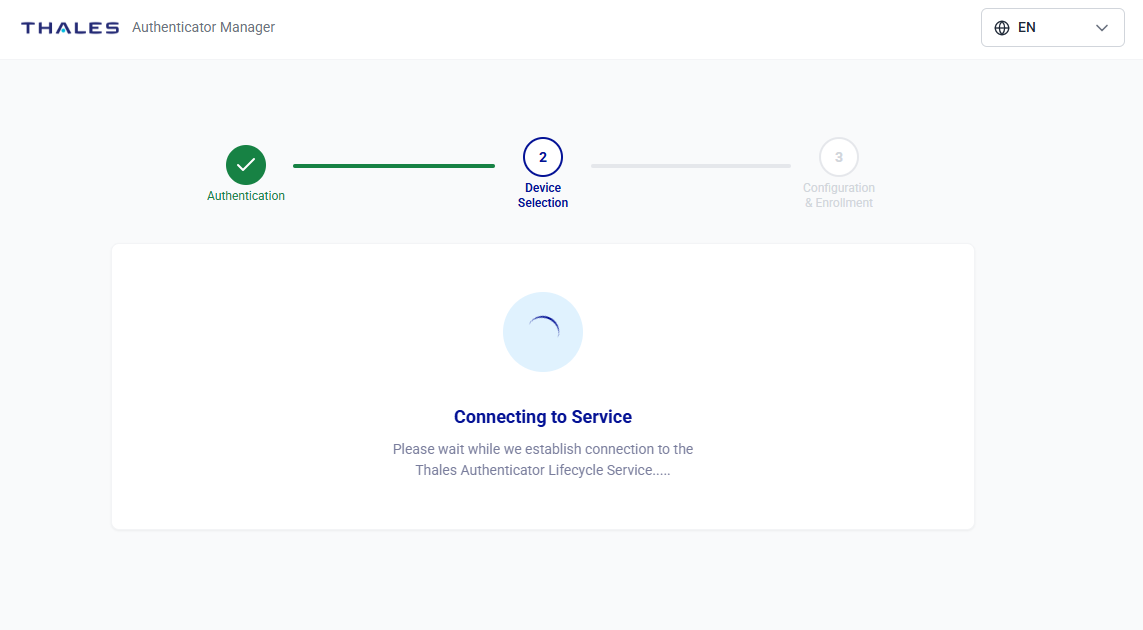
After you successfully authenticate, the portal connects to the Thales Authenticator Lifecycle Service and detects your connected FIDO devices.
-
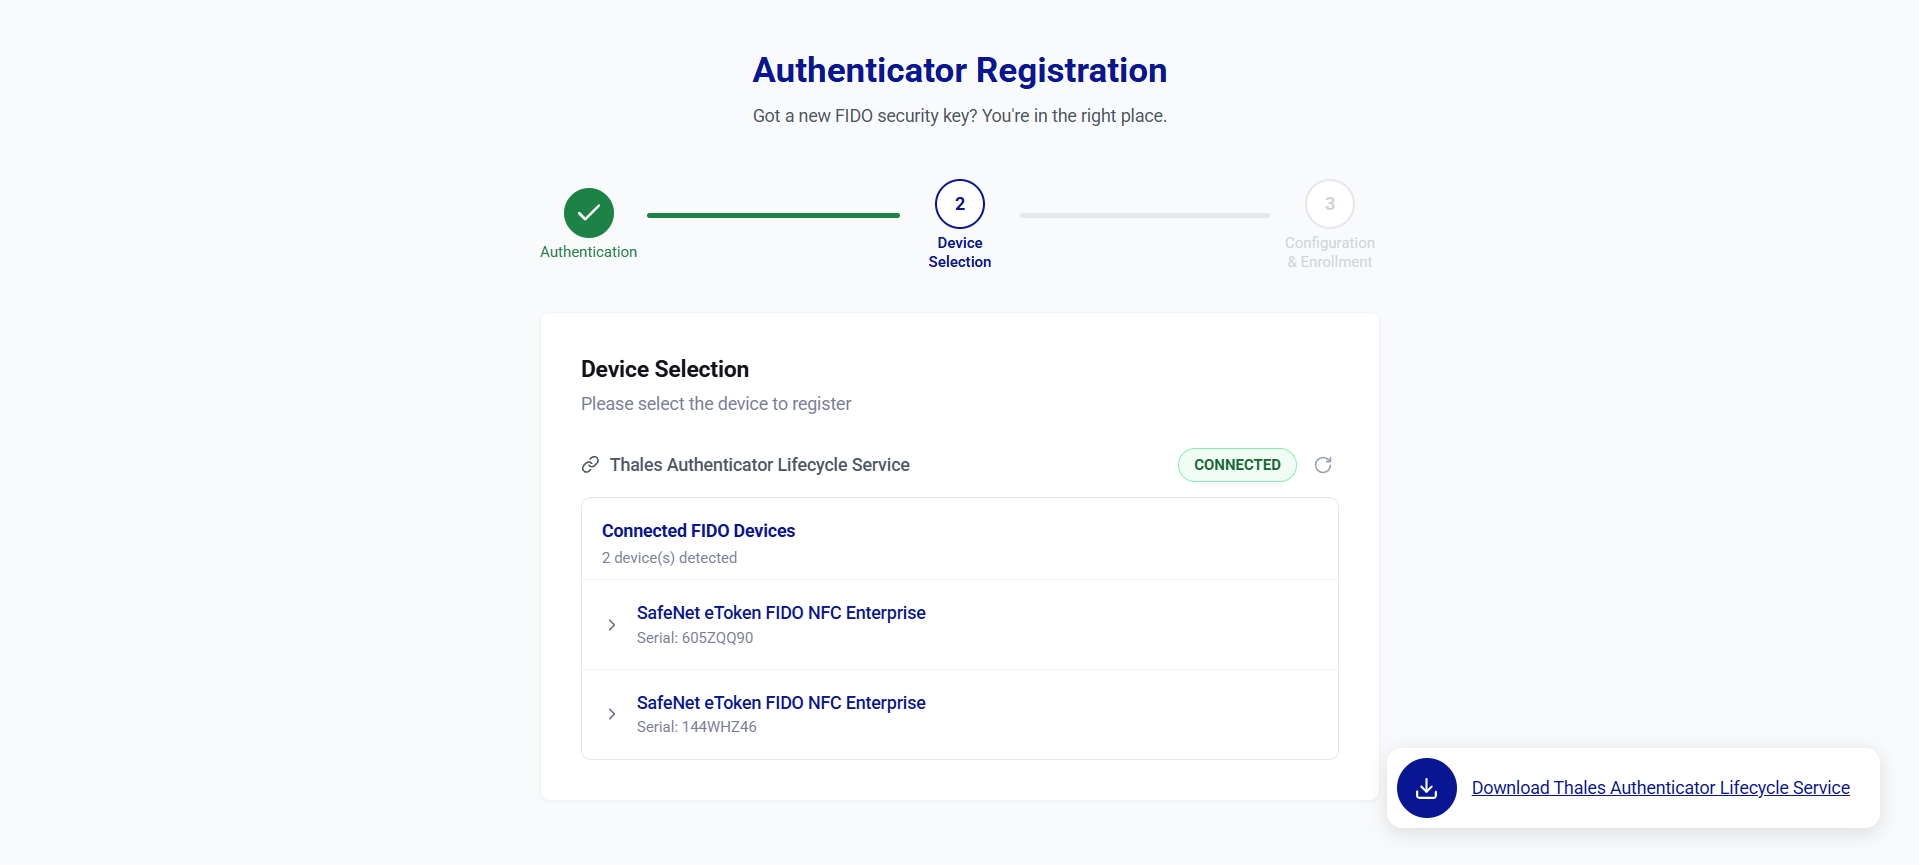
Wait until the Thales Authenticator Lifecycle Service status displays CONNECTED. When the connection is established, the portal displays all detected devices under Connected FIDO Devices.
-
To view details of a device, click the expand arrow
 icon.
icon.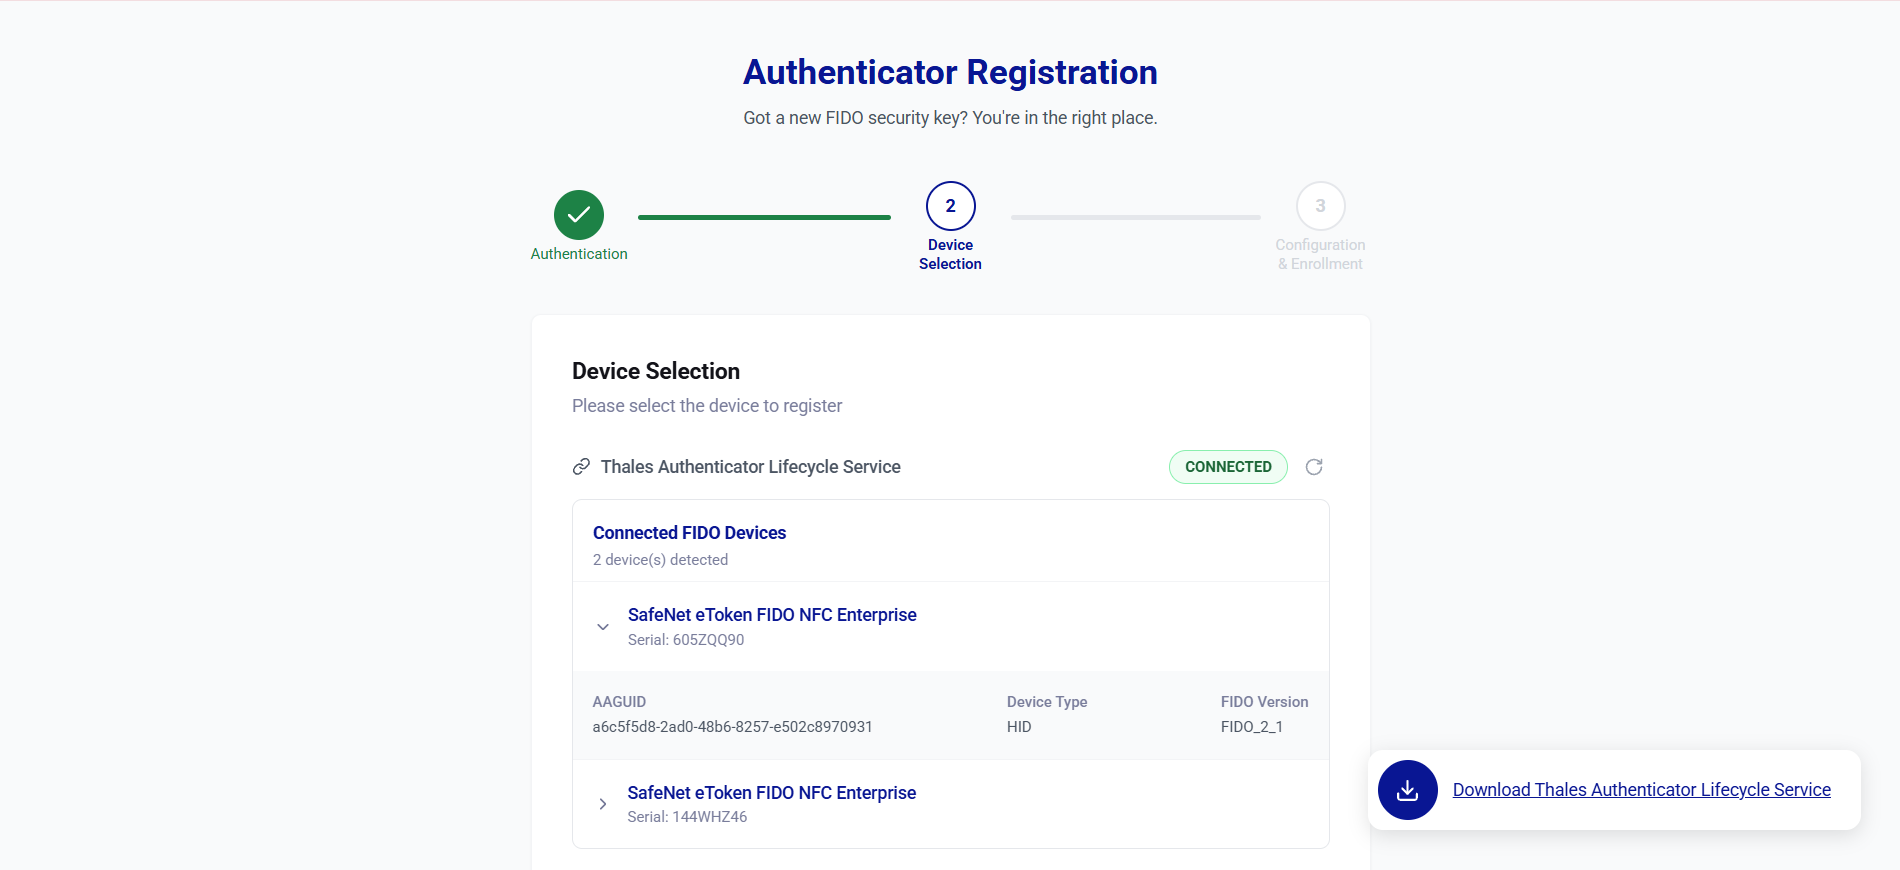
User Operations
After signing in to the Authenticator Manager portal, you can perform the following tasks:
- FIDO device registration
- Resetting a FIDO device
- Changing a FIDO device PIN
- Unlocking a FIDO device
- Managing fingerprints
FIDO Device Registration
-
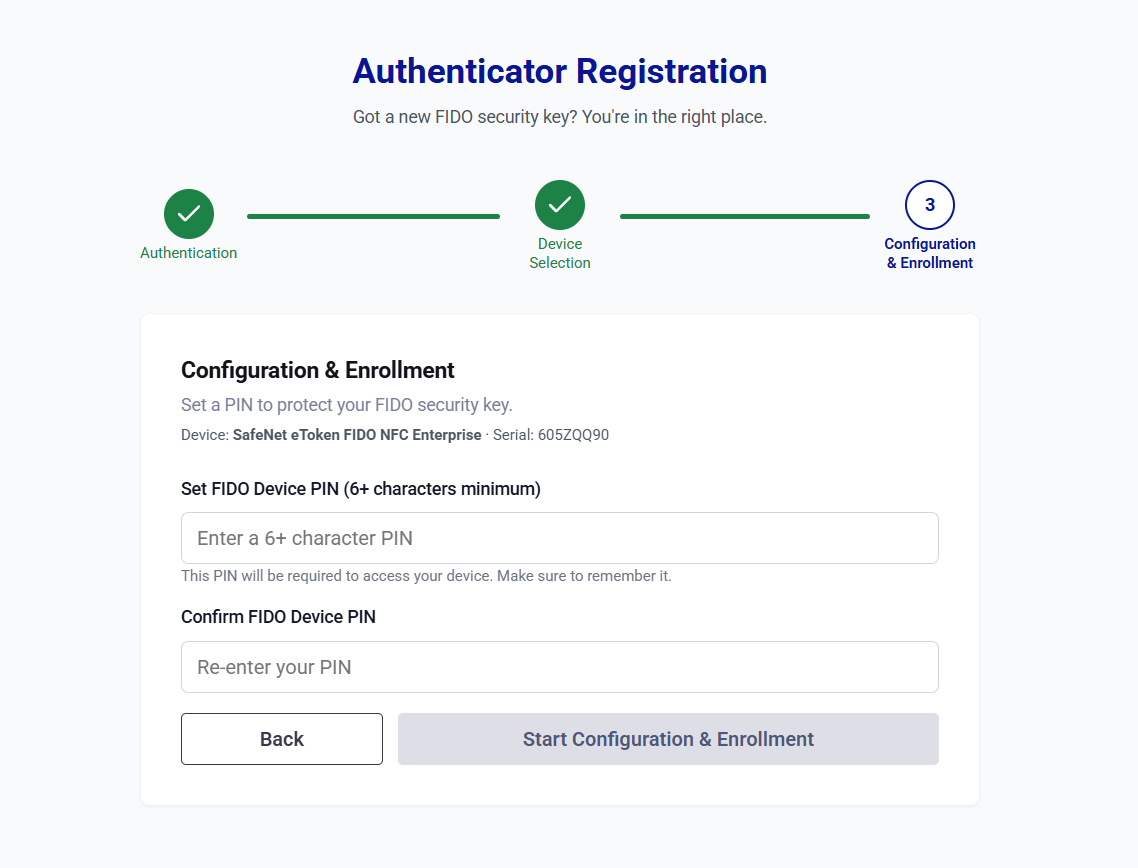
Under Connected FIDO Devices, click Enroll for the device that you want to enroll.
-
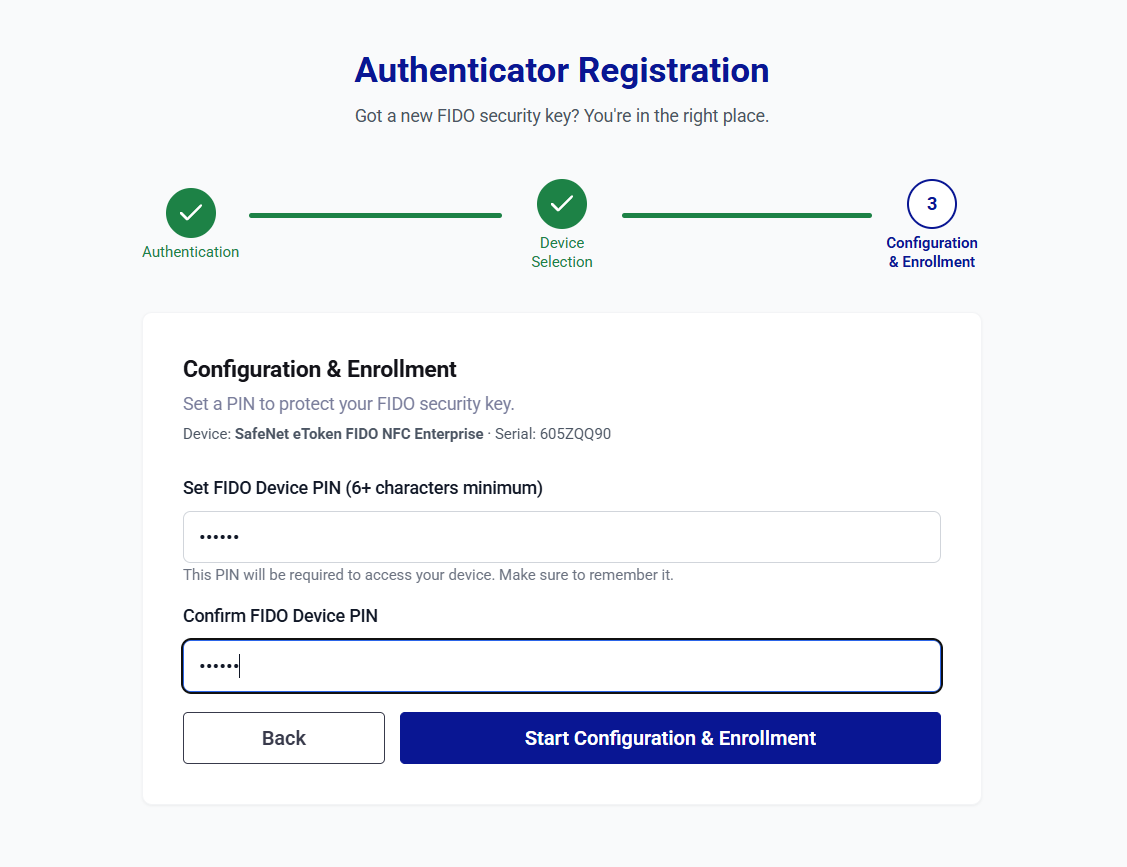
In the Set FIDO Device PIN field, enter a new PIN, and then re-enter it in the Confirm FIDO Device PIN field.
Caution
You will need to enter this PIN each time you use the FIDO device. Store the PIN securely. If you forget the PIN, you cannot recover it and will need to reset your device.
-
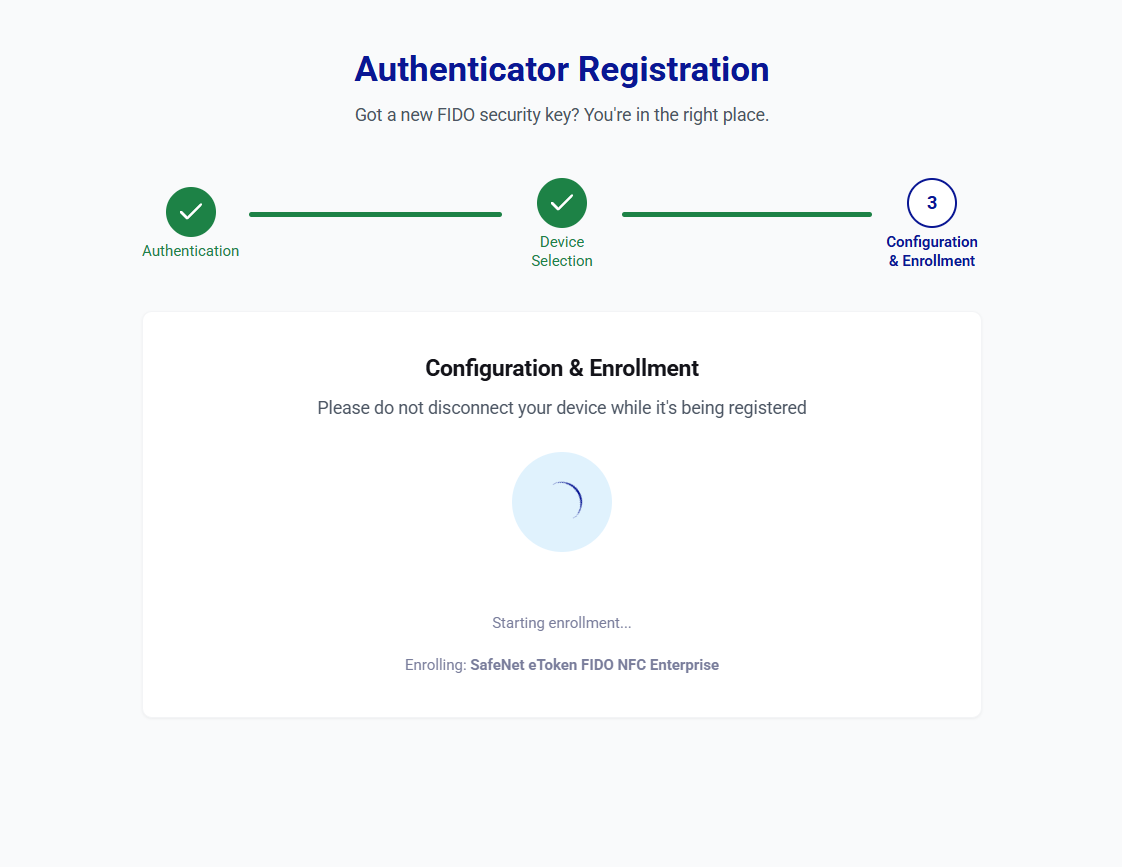
Click Start Configuration & Enrollment. The device configuration and enrollment process begins.
Caution
Do not unplug or disconnect the FIDO device while enrollment is in progress.
Note
If the configuration succeeds but the enrollment fails, see Registration Failure.
-
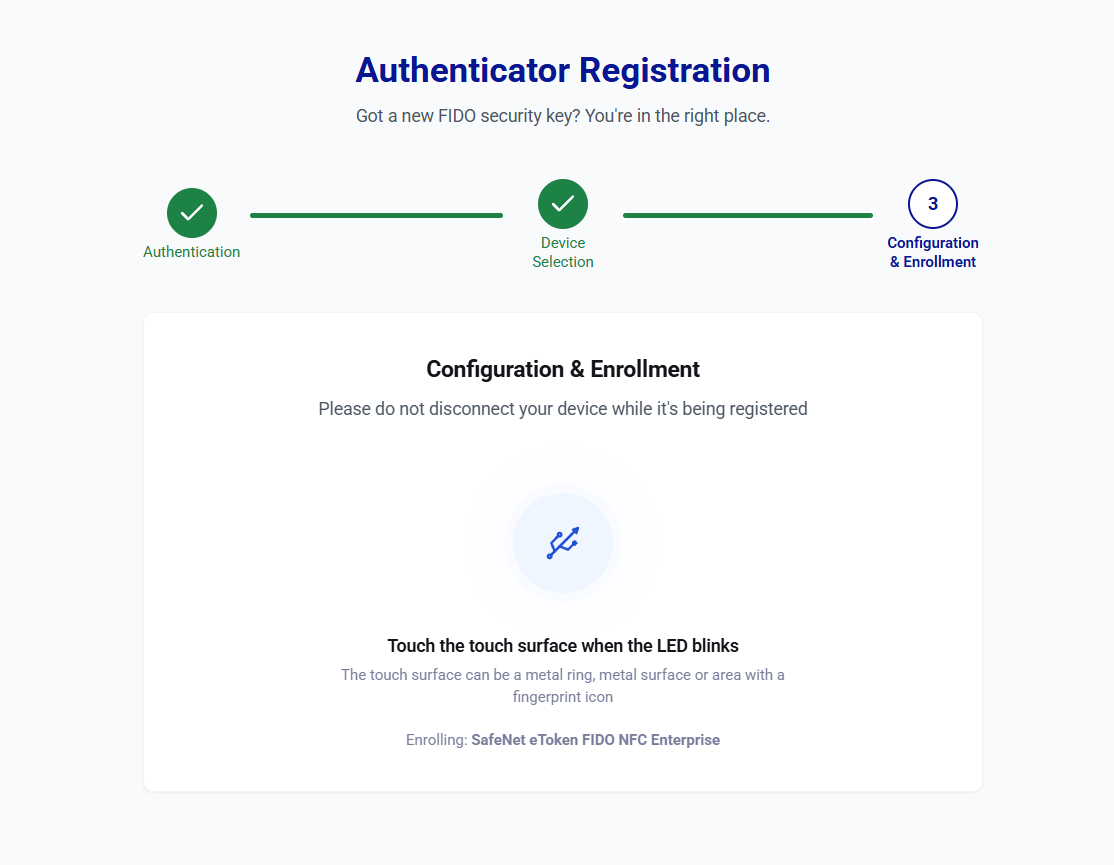
When prompted, touch the device to verify your presence (most devices blink).
-
After the device enrollment completes successfully, the Enrollment successful message is displayed.
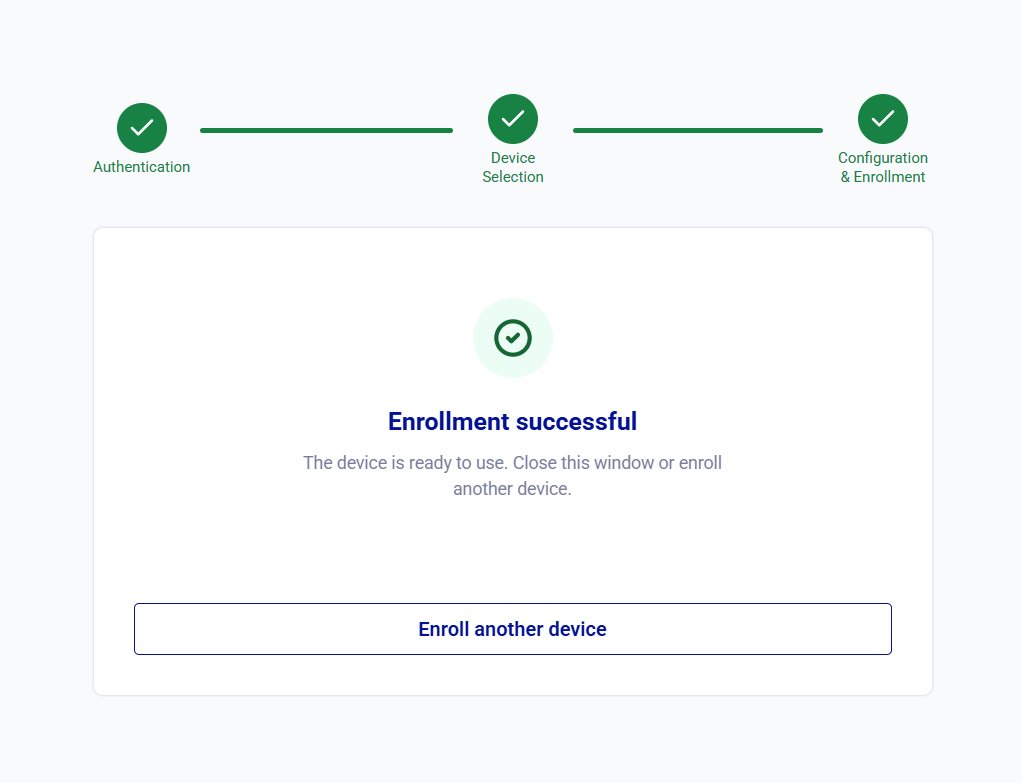
You can click Enroll another device to enroll an additional FIDO device, or close the window to finish.
Registration Failure
If the portal successfully configures the FIDO device but cannot complete the enrollment, the Enrollment Failed screen is displayed.
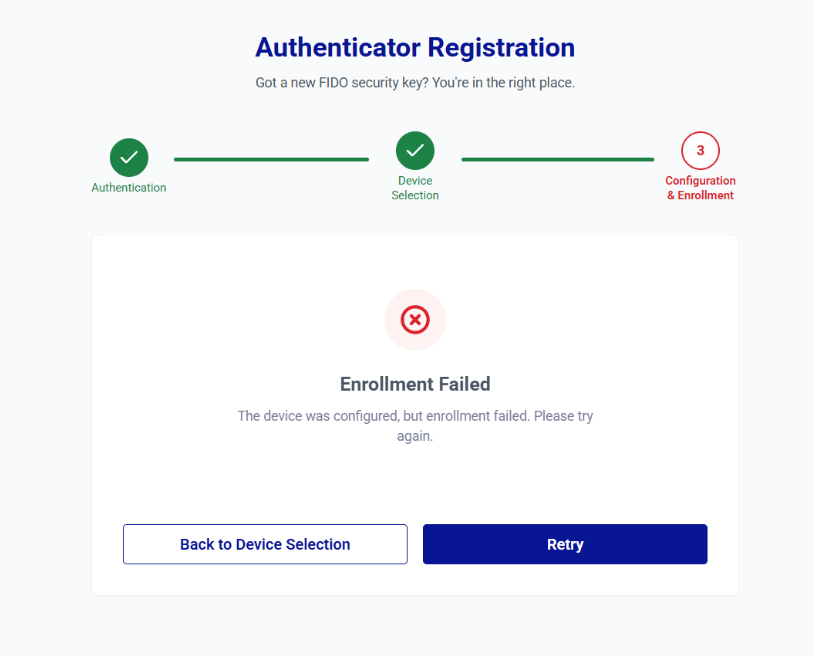
On the Enrollment Failed screen, select one of the following options:
- Retry – Select this option to attempt the enrollment again. You can retry up to three times. If the enrollment still fails after the third attempt, contact your IT administrator.
-
Back to Device Selection – Select this option to return to the device selection screen. The device is displayed with an ENROLLMENT PENDING status because a PIN was successfully set during configuration, but the enrollment did not complete. The Enroll button is not available for the device, so you cannot enroll it again through the portal. Contact your administrator for assistance.
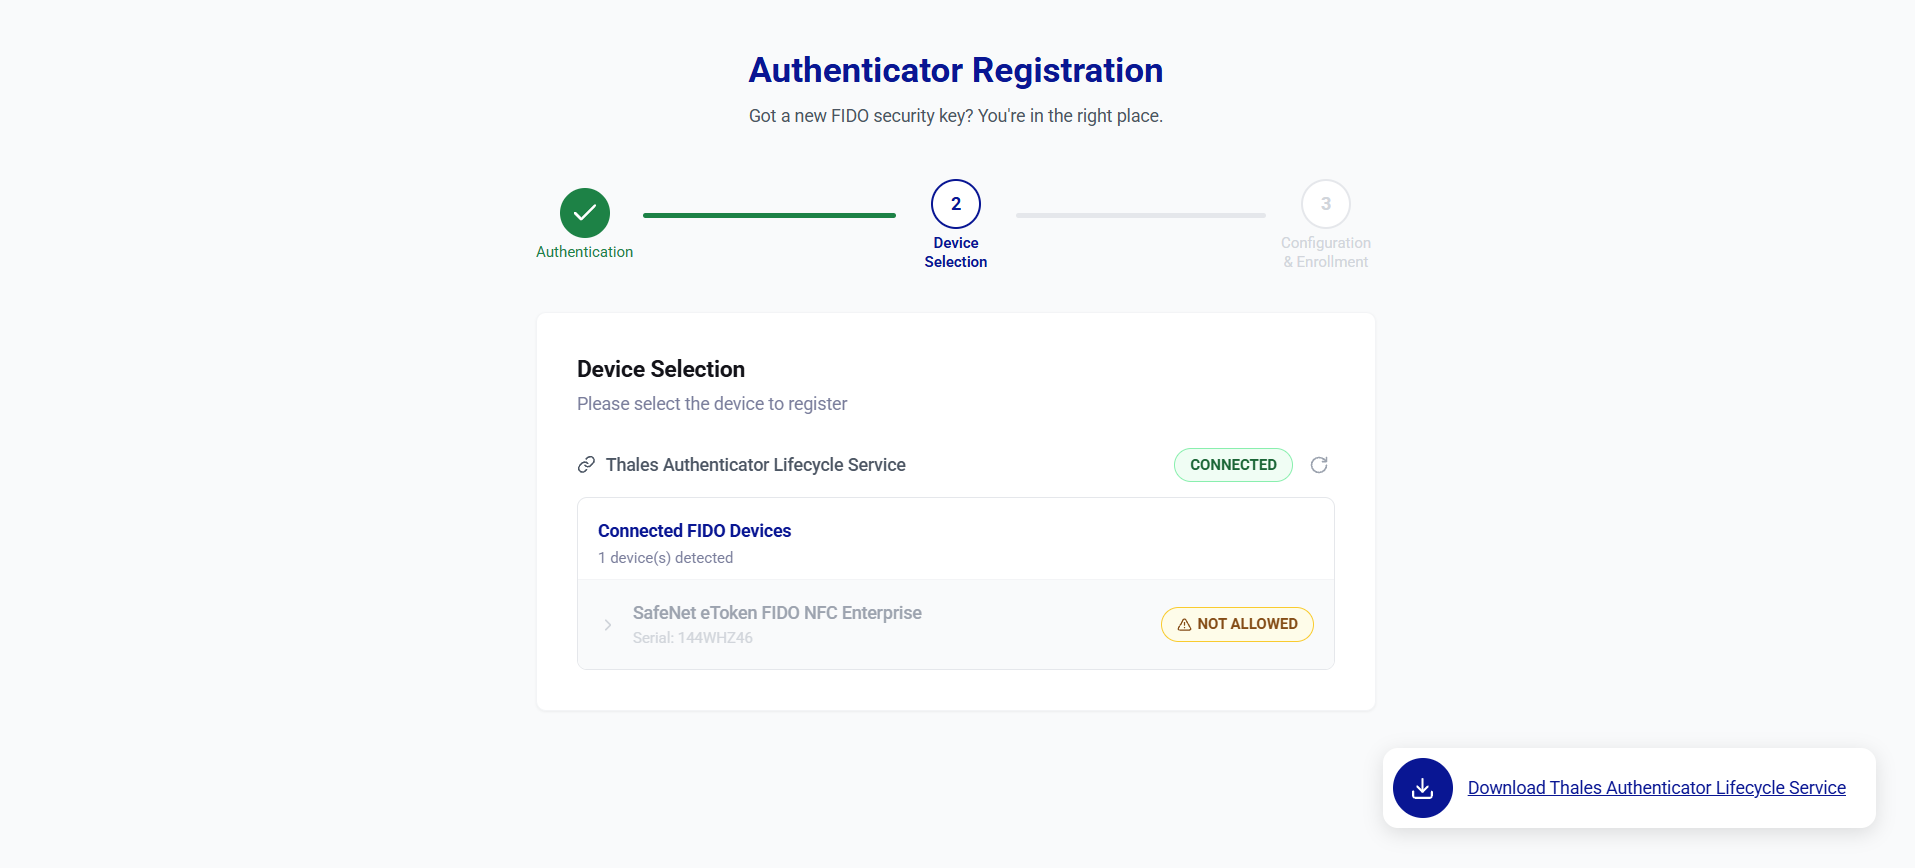
Note
An ENROLLMENT PENDING status indicates that the FIDO device is configured but not yet enrolled. The portal displays this status when enrollment does not complete successfully or when enrollment is unavailable for the device.
Resetting a FIDO Device
Resetting a FIDO device removes every credential that is stored on the device, including the PIN and any enrolled fingerprints. Reset a device when you want to return it to an unconfigured state.
Caution
Resetting a device is an irreversible operation. It permanently deletes all previously enrolled credentials. Ensure that alternative access mechanisms are in place before initiating this operation.
-
Under Connected FIDO Devices, locate the device that you want to reset, click the three-dots
 icon, and then select Reset.
 -
Under Reset Device, verify the device name and serial number, and review the actions listed under What will happen.
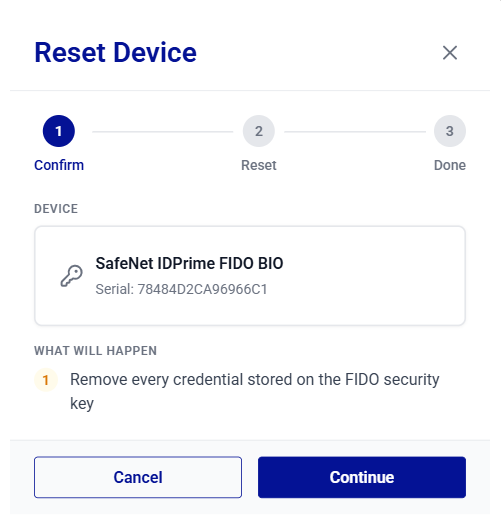
-
Click Continue.
-
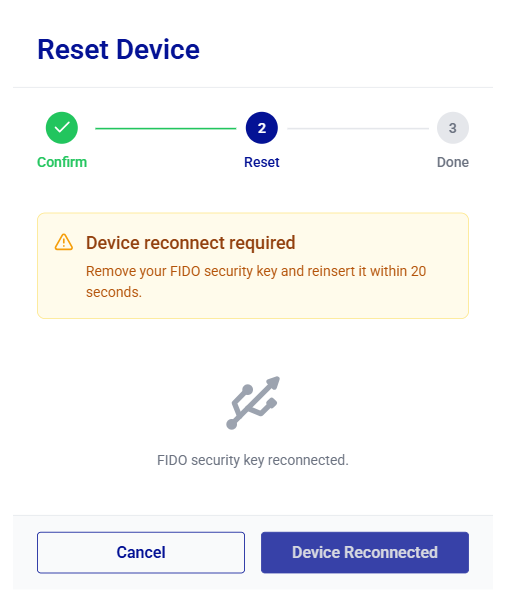
When Device reconnect required message displays, remove your FIDO device, reinsert it within 20 seconds, and then click Device Reconnected.
Note
If you do not reinsert the device within the required time, the reset operation does not complete, and the portal displays either the Reset Cancelled or Device Not Reinserted message. If you insert a different device, the portal displays Incorrect Device Detected. In either case, the portal does not reset the device, and you must start the reset process again.
-
When the Device touch required message appears, touch the blinking FIDO device.
-
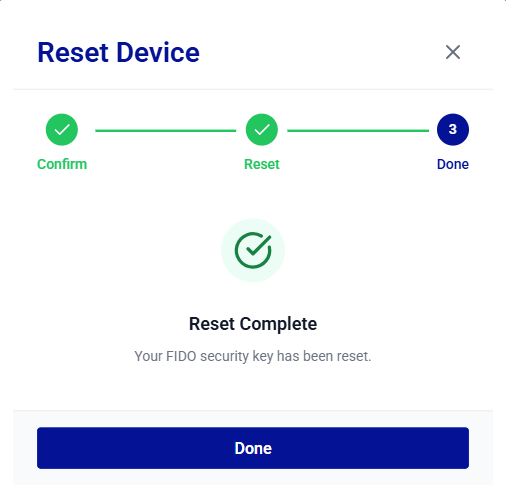
After the device reset operation completes successfully, the Reset Complete message displays. Click Done to return to the device list.
Changing a FIDO Device PIN
You can change the PIN for your FIDO device if you want to use a different PIN. To change the PIN, enter the device's current PIN.
Note
Change PIN is available only for an enrolled device. For a device that is not enrolled, the option is disabled.
-
Under Connected FIDO Devices, locate the device, click the three-dots
icon, and then select Change PIN.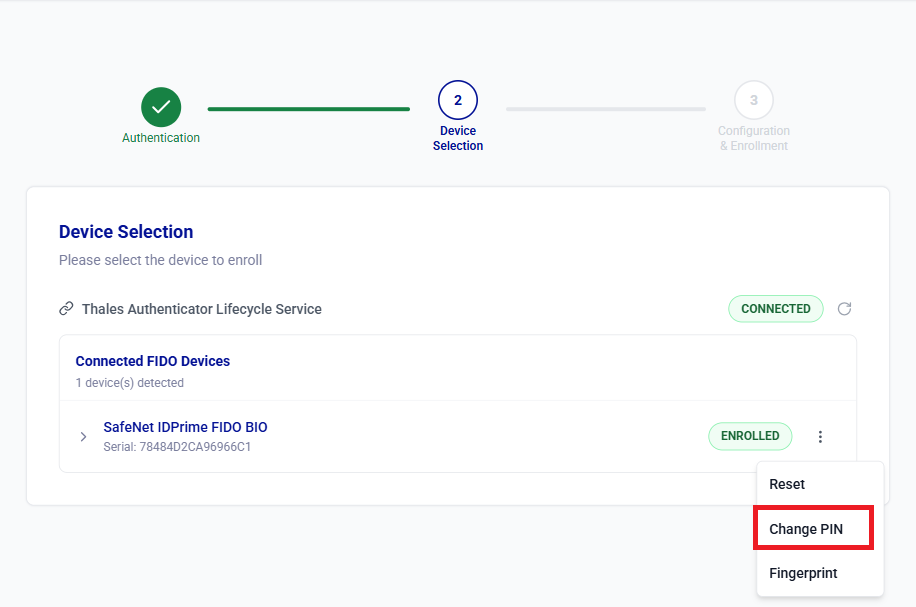
-
Under Change PIN, verify that the device name and serial number match the device whose PIN you want to change, and then perform the following steps:
a. In the Current PIN field, enter the PIN that is currently set on the device.
b. In the New PIN field, enter the new PIN and reenter it in the Confirm new PIN field.
The new PIN must meet the following requirements:
- Contain at least the number of characters specified by the Minimum PIN length setting in the assigned FIDO policy.
- Contain no more than 63 characters.
- Be different from the current PIN.
- Match the value entered in the Confirm new PIN field.
If the new PIN does not meet these requirements, the portal displays an error message.
-
Click Confirm to set the new PIN. To keep the current PIN and return to the device list, click Cancel.
-
When the Device touch required message appears, touch the blinking FIDO device.
Note
Not all FIDO devices require user touch to change the PIN. If the device does not require it, the portal completes the operation without displaying this prompt.
-
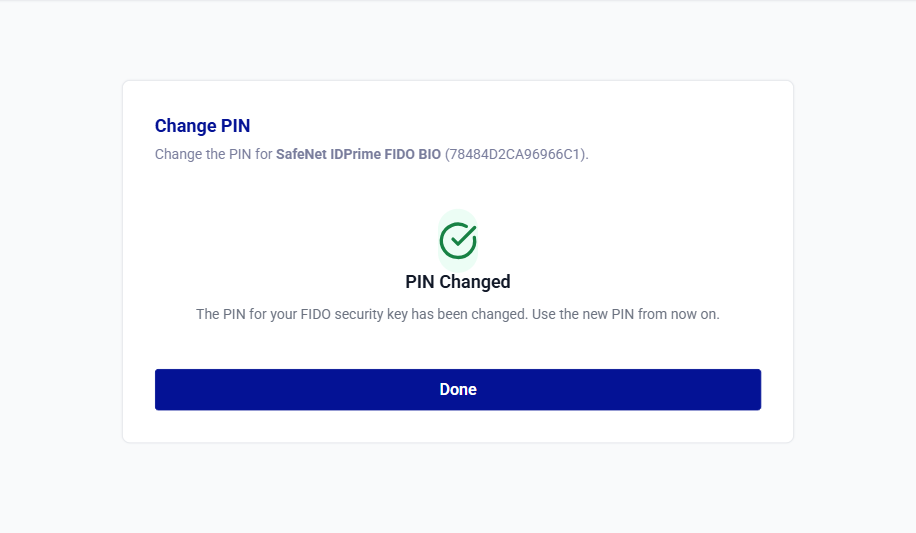
After the PIN is successfully changed, the PIN changed message is displayed. Use the new PIN the next time you use the device.
Caution
After three consecutive incorrect PIN entries, PIN operations are temporarily blocked, and the portal prompts you to reinsert the device before continuing.
If you insert a different device, the portal displays the Incorrect FIDO Security Key Detected message and continues to wait for the original device. If you do not reinsert the device within 60 seconds, the portal displays the FIDO Security Key Not Reinserted message, and you need to start the PIN change process again.
Note
If the device locks, the portal displays the FIDO Security Key Locked message. To use the device again, unlock it with assistance from your administrator or reset the device. For more information, see Unlocking a FIDO Device.
Reinserting Your FIDO Device
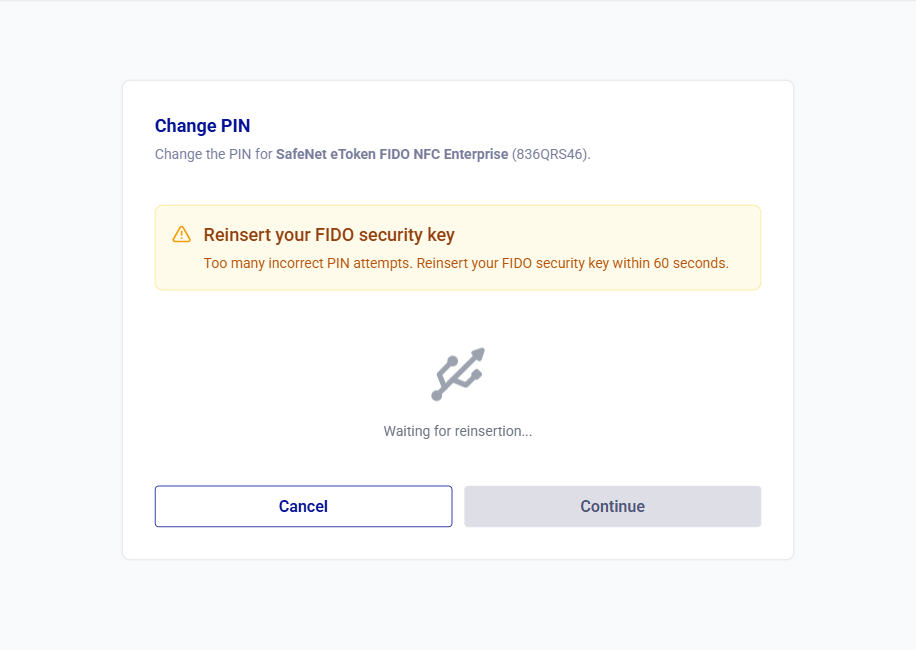
To protect your credentials, a FIDO device blocks further PIN operations after three consecutive incorrect PIN entries. When the device blocks a PIN operation, the portal displays Reinsert your FIDO security key instead of returning you to the device list.
-
Remove the FIDO device from your computer, and then reinsert the same device within 60 seconds.
When the portal detects the device, it displays FIDO security key reinserted. You can continue.
-
Click Continue to return to the Change PIN page, and then enter the correct current PIN. To end the PIN change instead, click Cancel.
Note
If you insert a different device, the portal displays Incorrect FIDO security key detected, and continues to wait for the device that you started the operation with. If you do not reinsert the device within 60 seconds, the portal displays FIDO security key not reinserted, and you must start the PIN change again.
Unlocking a FIDO Device
If you enter an incorrect PIN too many times, the FIDO device locks to protect your account. You can use Authenticator Manager to unlock the device with the help of your administrator.
Note
Unlock becomes available only after the device locks. Until then, the option is disabled. When the device is locked, the portal displays the LOCKED status, and Change PIN is disabled until you unlock the device.
Perform the following steps:
-
Under Connected FIDO Devices, locate the device, click the three-dots
 icon, and then select Unlock.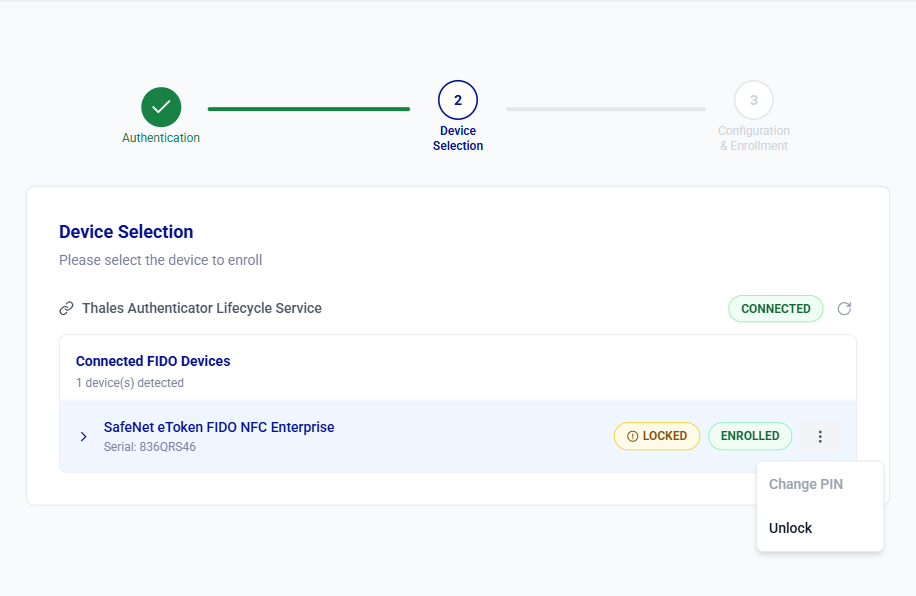
-
Under Unlock FIDO Key, click Copy to copy the challenge code, and then share it with the administrator.
After you share the challenge code, wait for your administrator to provide you with the response code.
{style="border: solid 1px #c0c0c0 ; width: 70%"}
{: .lightbox #image21 }
-
After receiving the response code from the administrator, enter it in the response code field and click Submit.
Note
If the portal displays Admin Code Rejected, the response code is incorrect or has expired. Ask your administrator for a new code, and then try again.
-
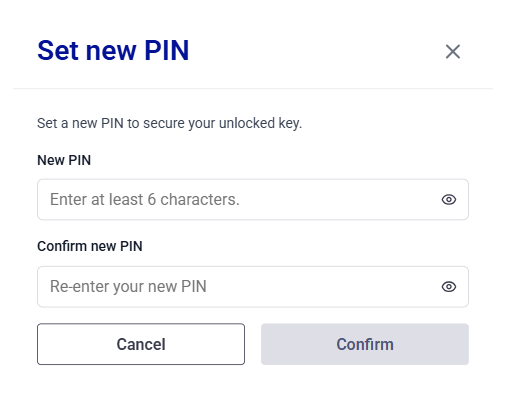
Under Set New PIN, enter a new PIN in the New PIN field, re-enter it in the Confirm New PIN field, and then click Confirm.
The new PIN must contain at least the number of characters specified in the Minimum PIN length setting of the FIDO policy assigned by your administrator.
-
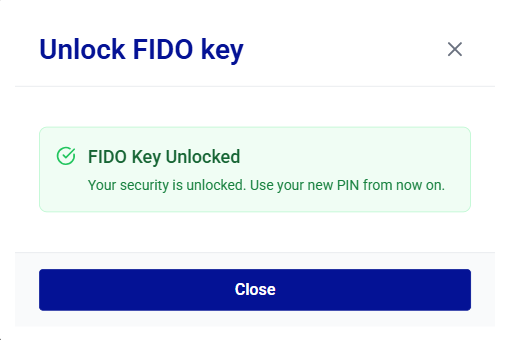
After the FIDO device is successfully unlocked, the FIDO Key Unlocked message displays. Use the new PIN the next time you use the device.
Managing Fingerprints
If your FIDO device supports biometric authentication, you can perform the following operations to manage the fingerprints stored on the device:
- Listing enrolled fingerprints
- Adding fingerprints
- Renaming existing fingerprints
- Deleting all fingerprints
Note
For a device that does not support fingerprints, the portal displays Not supported.
Listing Enrolled Fingerprints
-
Under Connected FIDO Devices, locate the biometric device, click the three-dots
icon, and then select Fingerprint.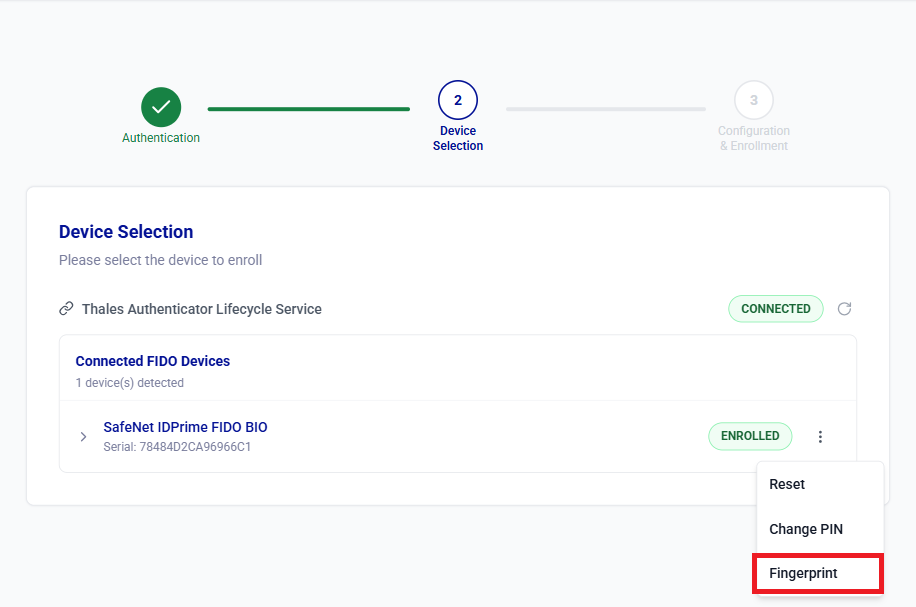
-
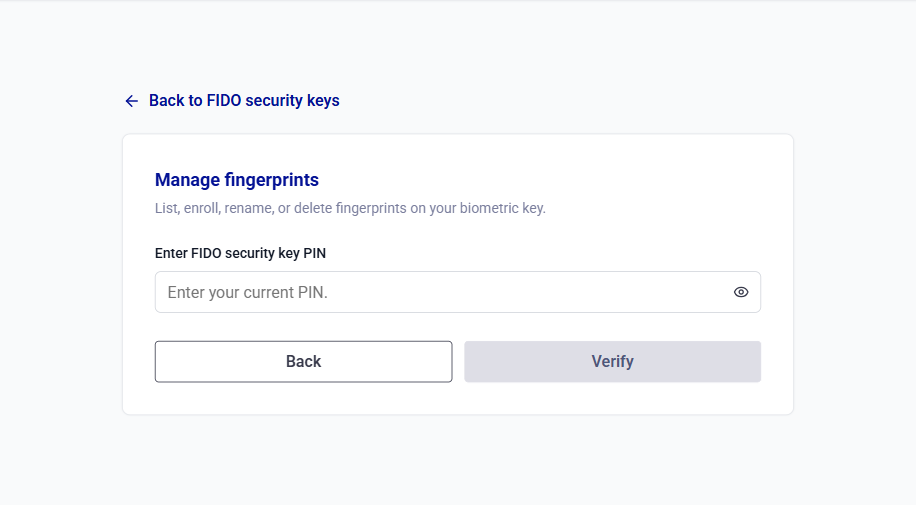
Under Manage fingerprints, enter the device PIN in the Enter FIDO security key PIN field, and then click Verify.
Caution
After three consecutive incorrect PIN entries, PIN operations are temporarily blocked, and the portal prompts you to reinsert the device before continuing.
If you insert a different device, the portal displays the Incorrect FIDO Security Key Detected message and continues to wait for the original device. If you do not reinsert the device within 60 seconds, the portal displays the FIDO Security Key Not Reinserted message, and you need to start the PIN change process again.
Note
If the device locks, the portal displays the FIDO Security Key Locked message. To use the device again, unlock it with assistance from your administrator or reset the device. For more information, see Unlocking a FIDO Device.
-
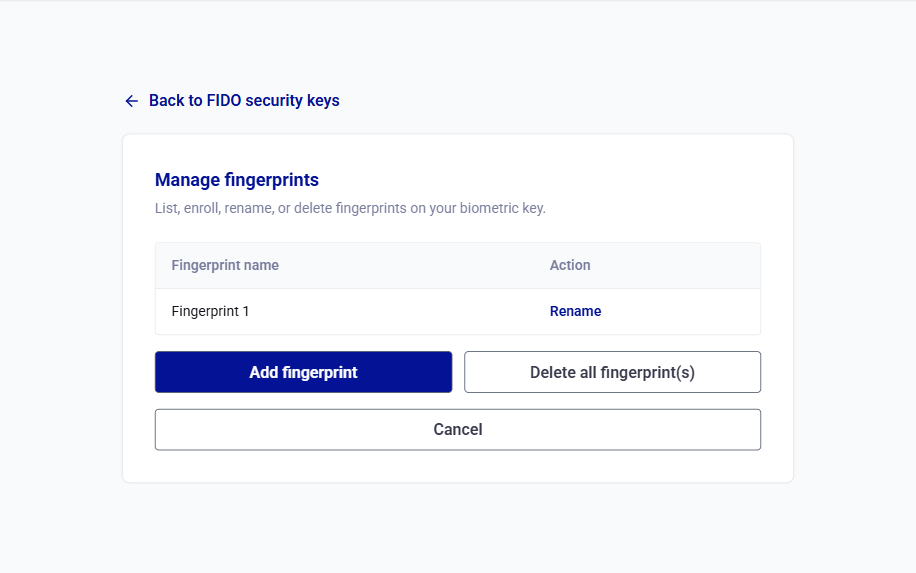
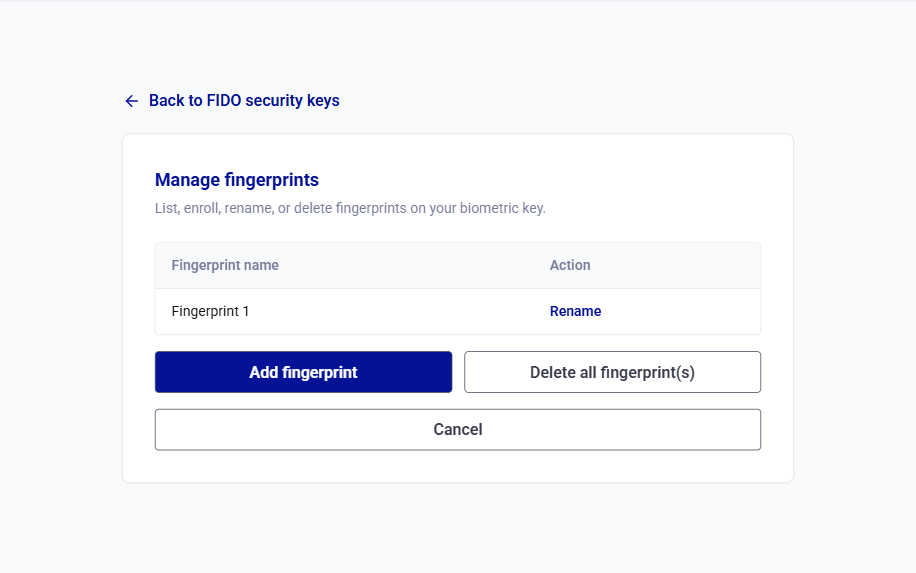
Review the enrolled fingerprints. The Fingerprint name column shows the name of each fingerprint, and the Action column contains the operations that you can perform on it.
Adding Fingerprints
-
Under Manage fingerprints, click Add fingerprint.
-
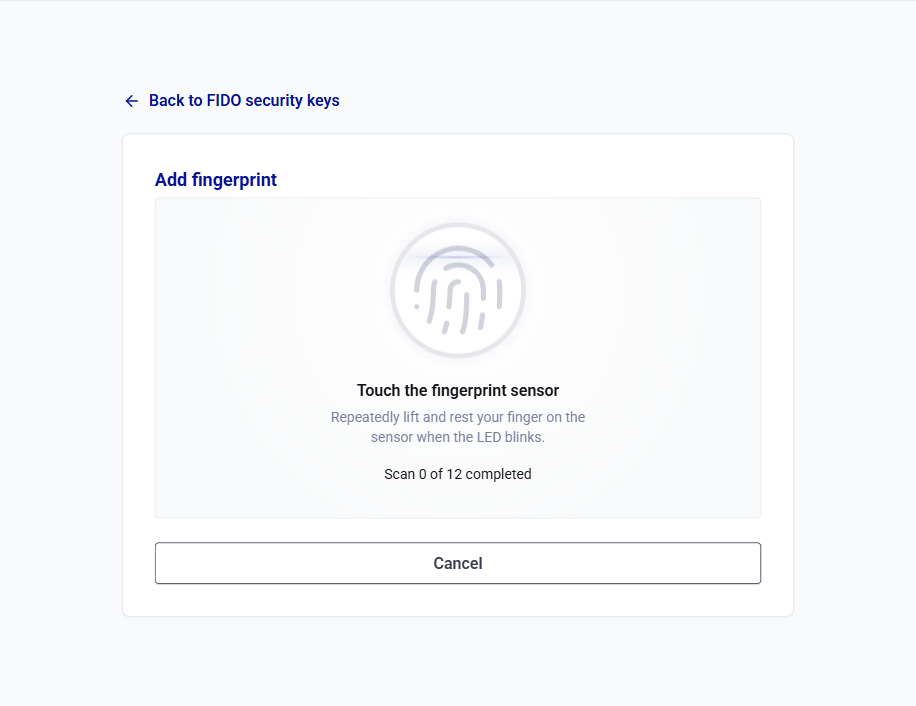
When the Touch the fingerprint sensor message displays, repeatedly lift and place your finger on the sensor while the LED blinks. The portal displays the number of completed scans.
If the Adjust your grip message displays, reposition your finger on the sensor to capture different areas of the fingerprint, including the edges.
-
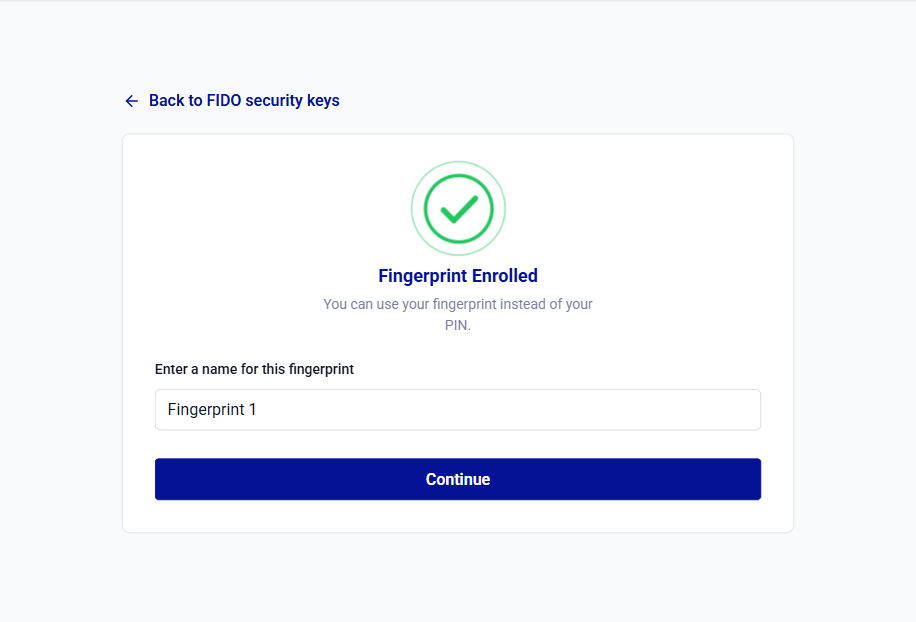
When the Fingerprint Enrolled message displays, enter a name for the fingerprint in Enter a name for this fingerprint field, and then click Continue.
Note
FIDO devices support a limited number of fingerprints. If the device reaches its fingerprint limit, the portal displays the Fingerprint Limit Reached message. Delete one or more existing fingerprints before adding a new one. If you try to enroll a fingerprint that is already stored on the device, the portal displays the Finger Already Enrolled message. Use a different finger to continue.
Renaming Existing Fingerprints
-
Under Manage fingerprints, click Rename in the Action column for the fingerprint that you want to rename.
-
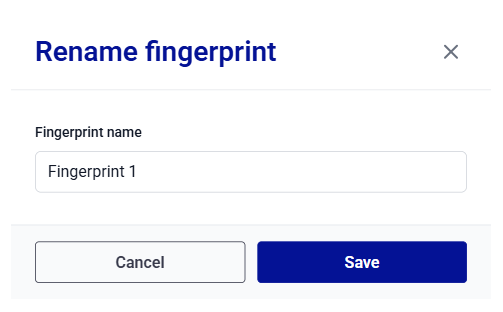
Under Rename fingerprint, enter a new name in Fingerprint name field, and then click Save.
Deleting All Fingerprints
You can delete all fingerprints enrolled on a FIDO device. Deleting individual fingerprints is not supported.
-
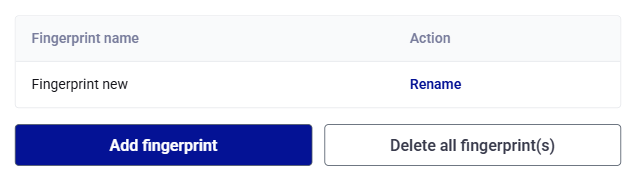
Under Manage fingerprints, click Delete all fingerprint(s).
-
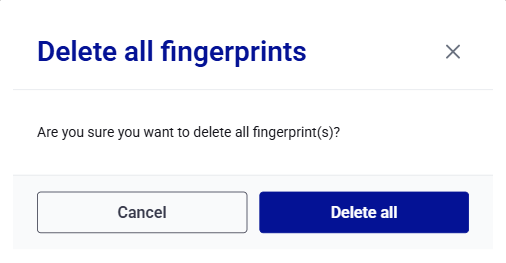
Under Delete all fingerprints, click Delete all to confirm. To keep the fingerprints, click Cancel.
Caution
This action cannot be undone. After you delete the fingerprints, biometric authentication is no longer available on the device, and you need to use your PIN until you enroll a fingerprint again.

