



Customizing Authenticator Manager
Authenticator Manager portal can be customized by changing the following settings:
Portal Language
The Authenticator Manager portal supports multiple languages, allowing you to use the portal in your preferred language.
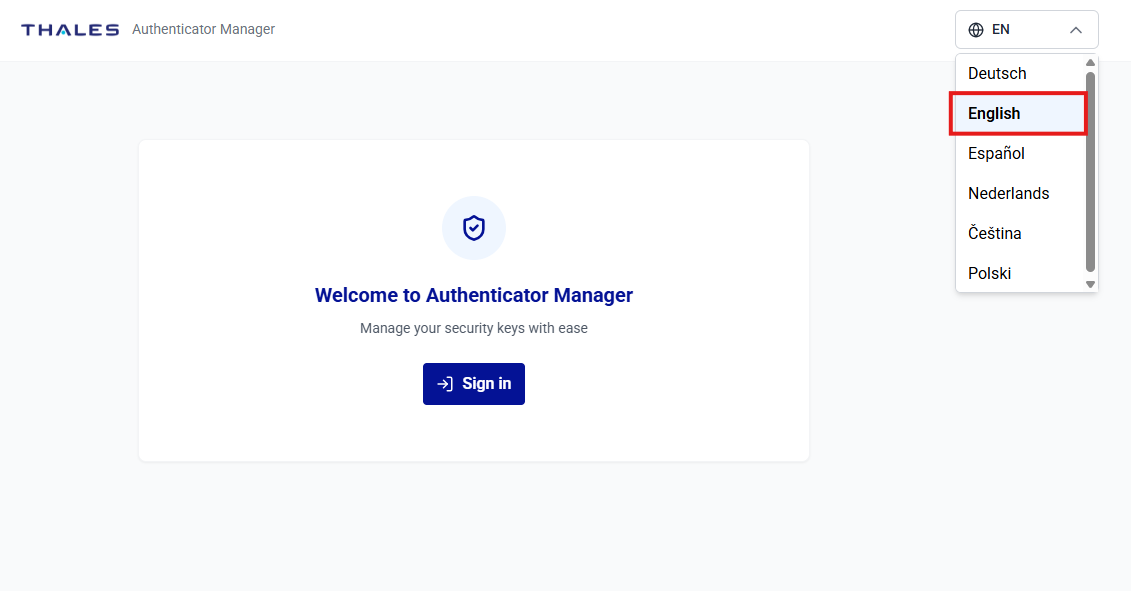
Select Portal Language
On the Authenticator Manager portal, select your preferred language from the list. The portal updates immediately to display your selected language.
Note
Some content may be displayed in English if the selected language is not fully supported.
Portal Language Settings
When the portal opens, it determines the display language using the following settings in order:
-
User-selected language - If a user previously selected a language from the language selector, the portal uses that language and retains the user's preference across sessions.
-
Organization default language - If the user has not selected a preferred language, the portal uses the default language configured by the organization.
-
Browser language - If the organization has not configured a default language, the portal uses the language configured in the user's web browser.
-
English - If the display language cannot be determined or the selected language is not fully supported, the portal uses English.
Portal Appearance
Authenticator Manager portal appearance can be customized to align with the organization's brand. This is managed through the following two configuration options:
- Configure a theme – To set the organization logo, browser favicon, and language files displayed in the Authenticator Manager portal.
- Configure a brand – To apply a specific theme and define which language options (locales) are available.
Configure a Theme
-
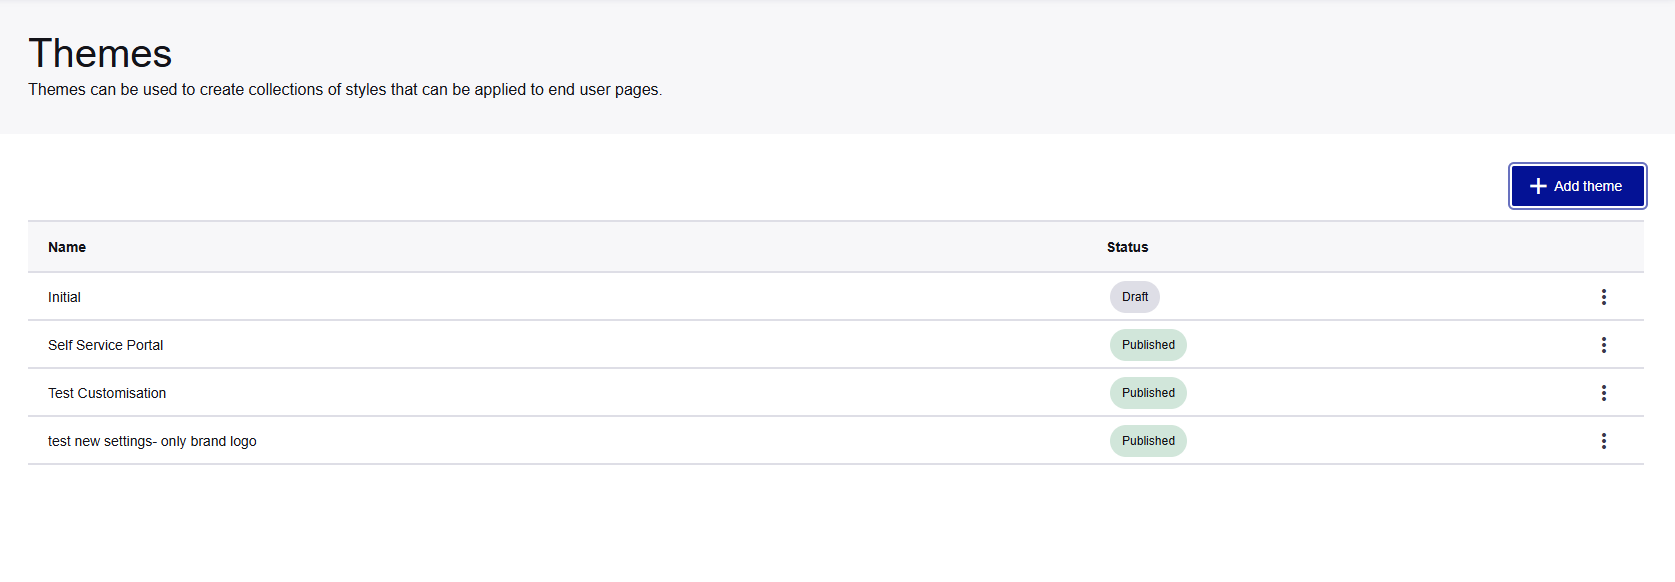
On the Thales console, navigate to Customizations > Themes, and click Add Theme.
-
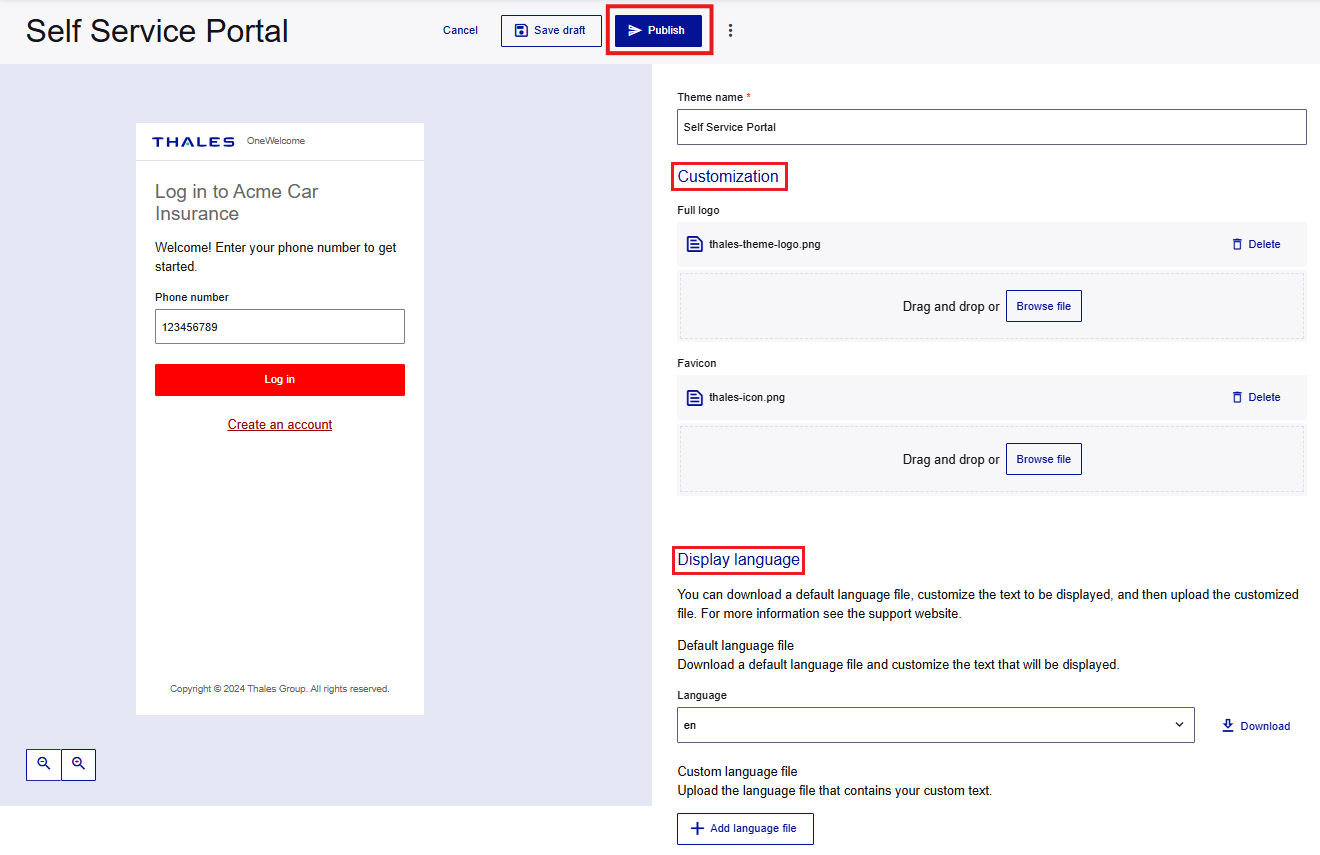
Under Self Service Portal, perform the following steps:
-
In the Theme name field, enter a name for the theme.
-
Under Customization,
- Under Full logo, drag and drop your logo image or click Browse file to search and select your logo image file.
- Under Favicon, drag and drop your browser icon or click Browse file to search and select your browser icon file.
-
Under Display language,
- Under Language, select a locale from the dropdown list.
- Click Download to download the default language translation JSON file. Edit the file to customize the portal terminology according to your organization's requirements.
- Click Add language file to upload your updated language translation JSON file.
-
Click Publish.
Note
Only published themes can be assigned to a brand and displayed to end users.
-
Configuring a Brand
-
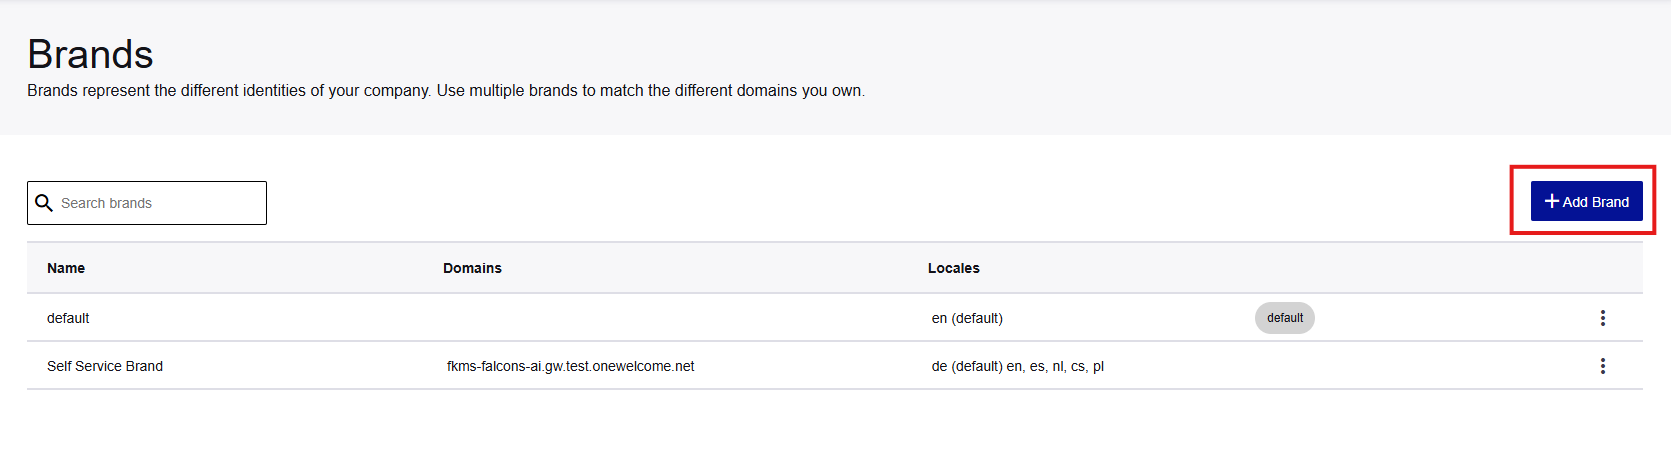
On the Thales console, navigate to Customizations > Brands, and click Add Brand.
-
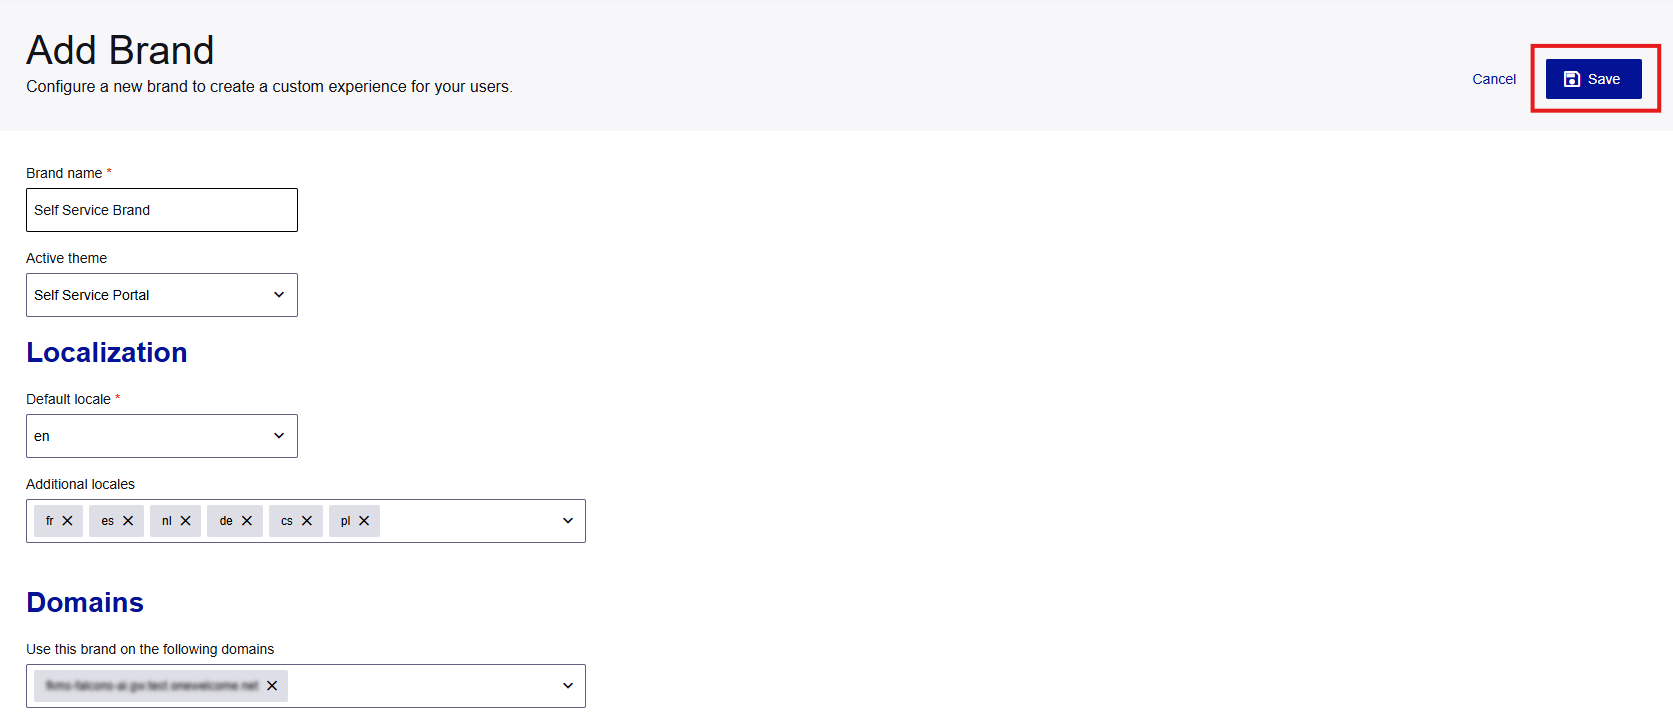
Under Add Brand, perform the following steps:
- In the Brand name field, enter a name for the brand.
- In the Active theme field, select a published theme to be applied.
- Under Localization, select a Default locale, and then select any Additional locales.
- Under Domains, add the specific tenant domain(s) to which this brand configuration will apply.
-
Click Save to apply the configuration.
Note
The console includes a built-in default brand. If no brand is configured for a tenant domain, the system automatically applies the default brand.

